AWS AppSync (CloudFormation)
The Inigo plugin for AWS AppSync provides full observability and controls on all individual subgraphs. Follow the instructions to get up and running.
Prerequisites
- A working AppSync service with API Key authentication. If not, see the AWS AppSync documentation for configuration instructions.
Inigo Service Creation
In order to be able to provide additional security and analytics to your AppSync service create a new Inigo service.
Follow these steps to create your service and to obtain INIGO_SERVICE_TOKEN.
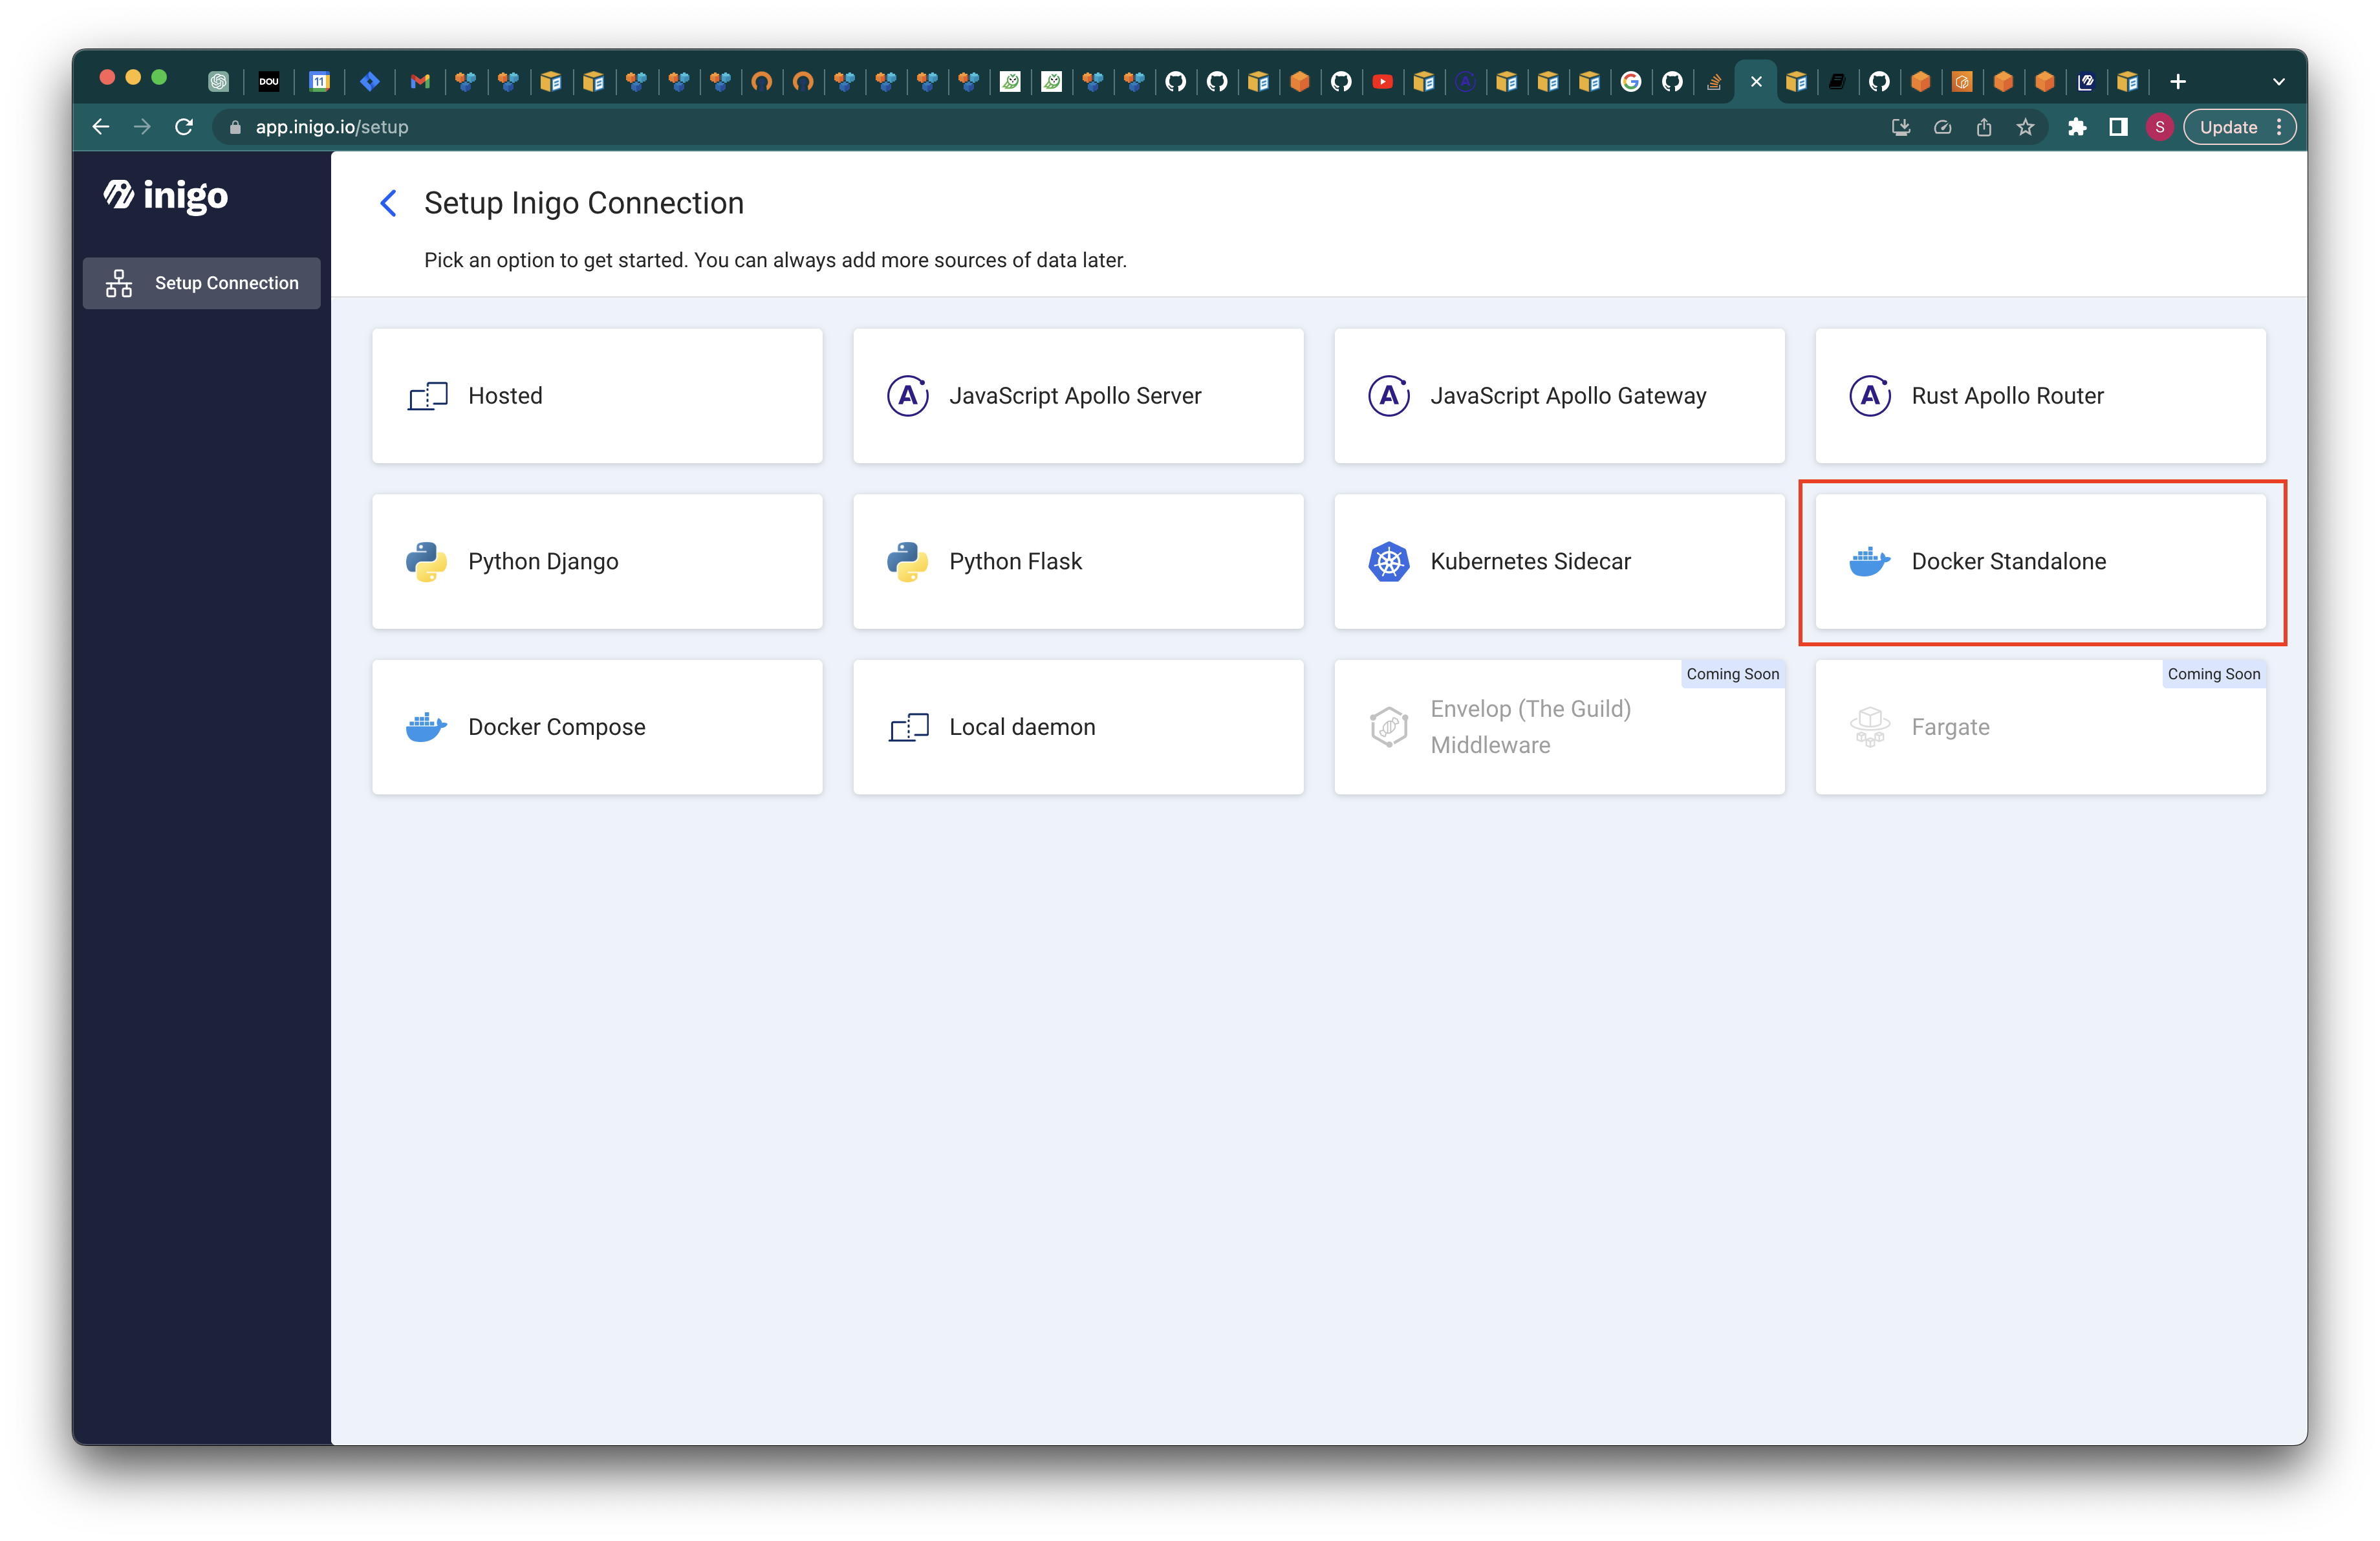
- After successful registration at app.inigo.io, open the service configuration menu.

- Select Docker Standalone option.
- Choose service name and label (optionally), and click the
Nextbutton.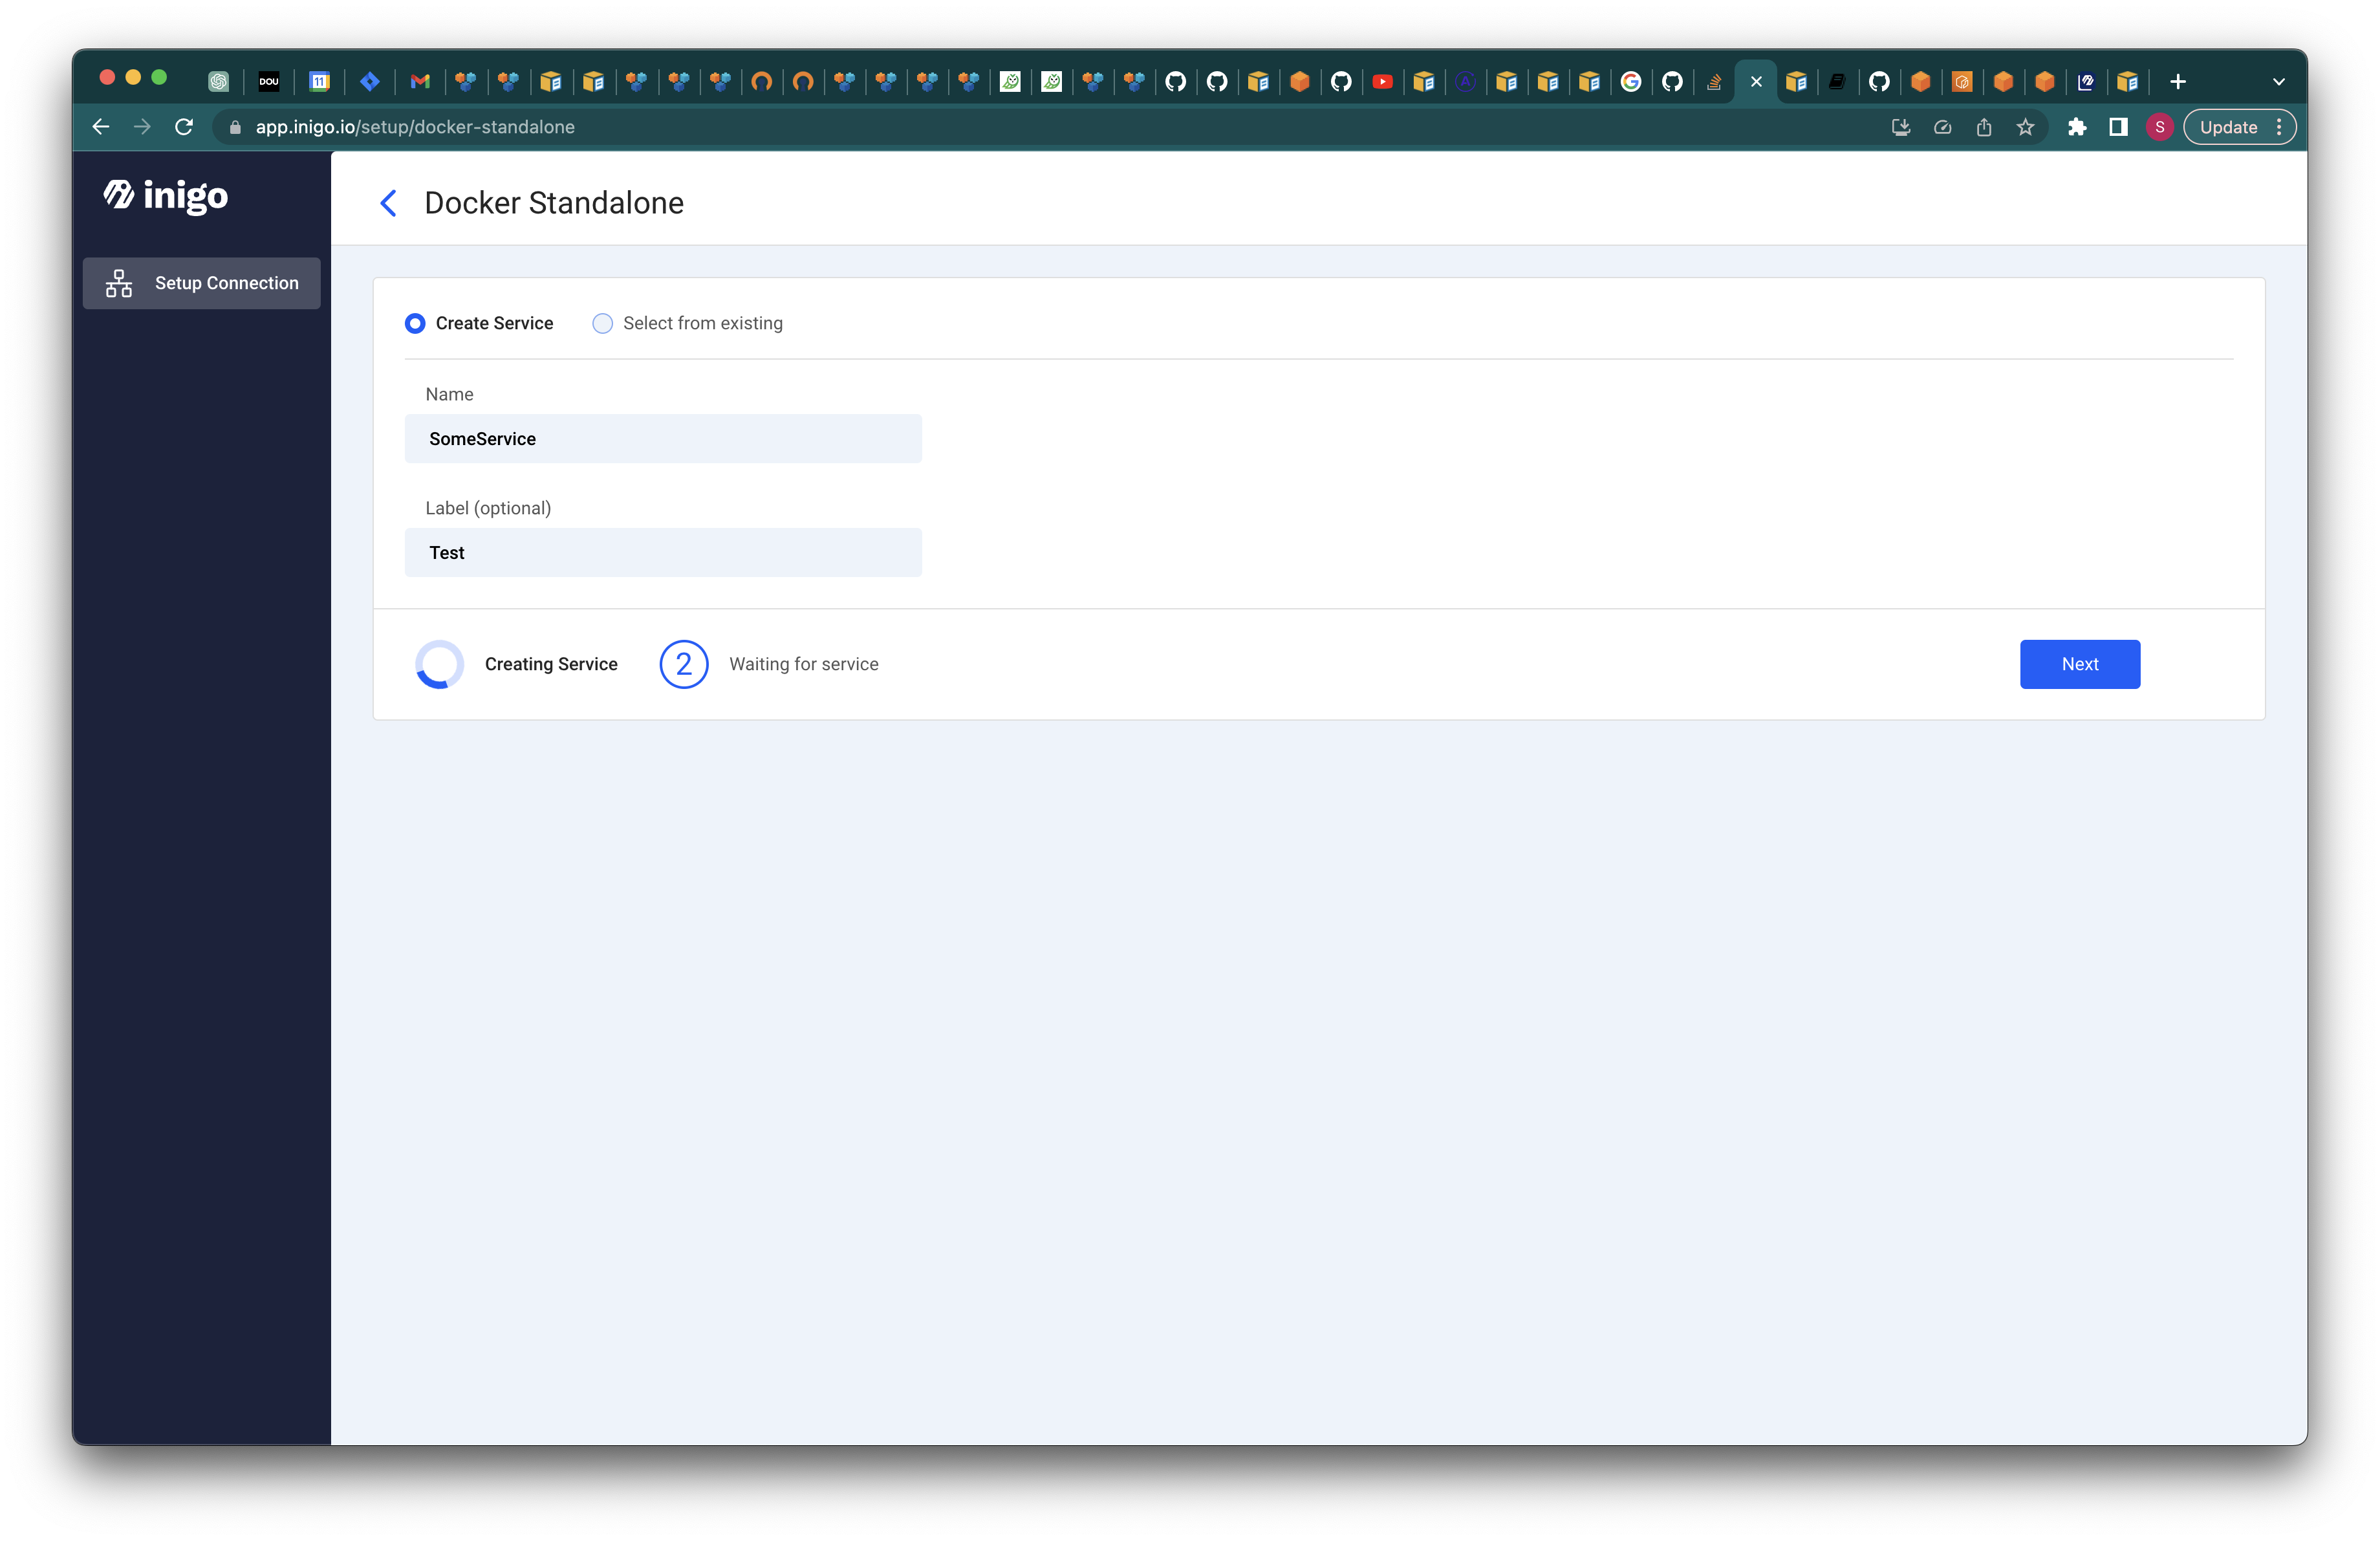
- Save the
INIGO_SERVICE_TOKENvalue, by clicking on copy button, for the later usage.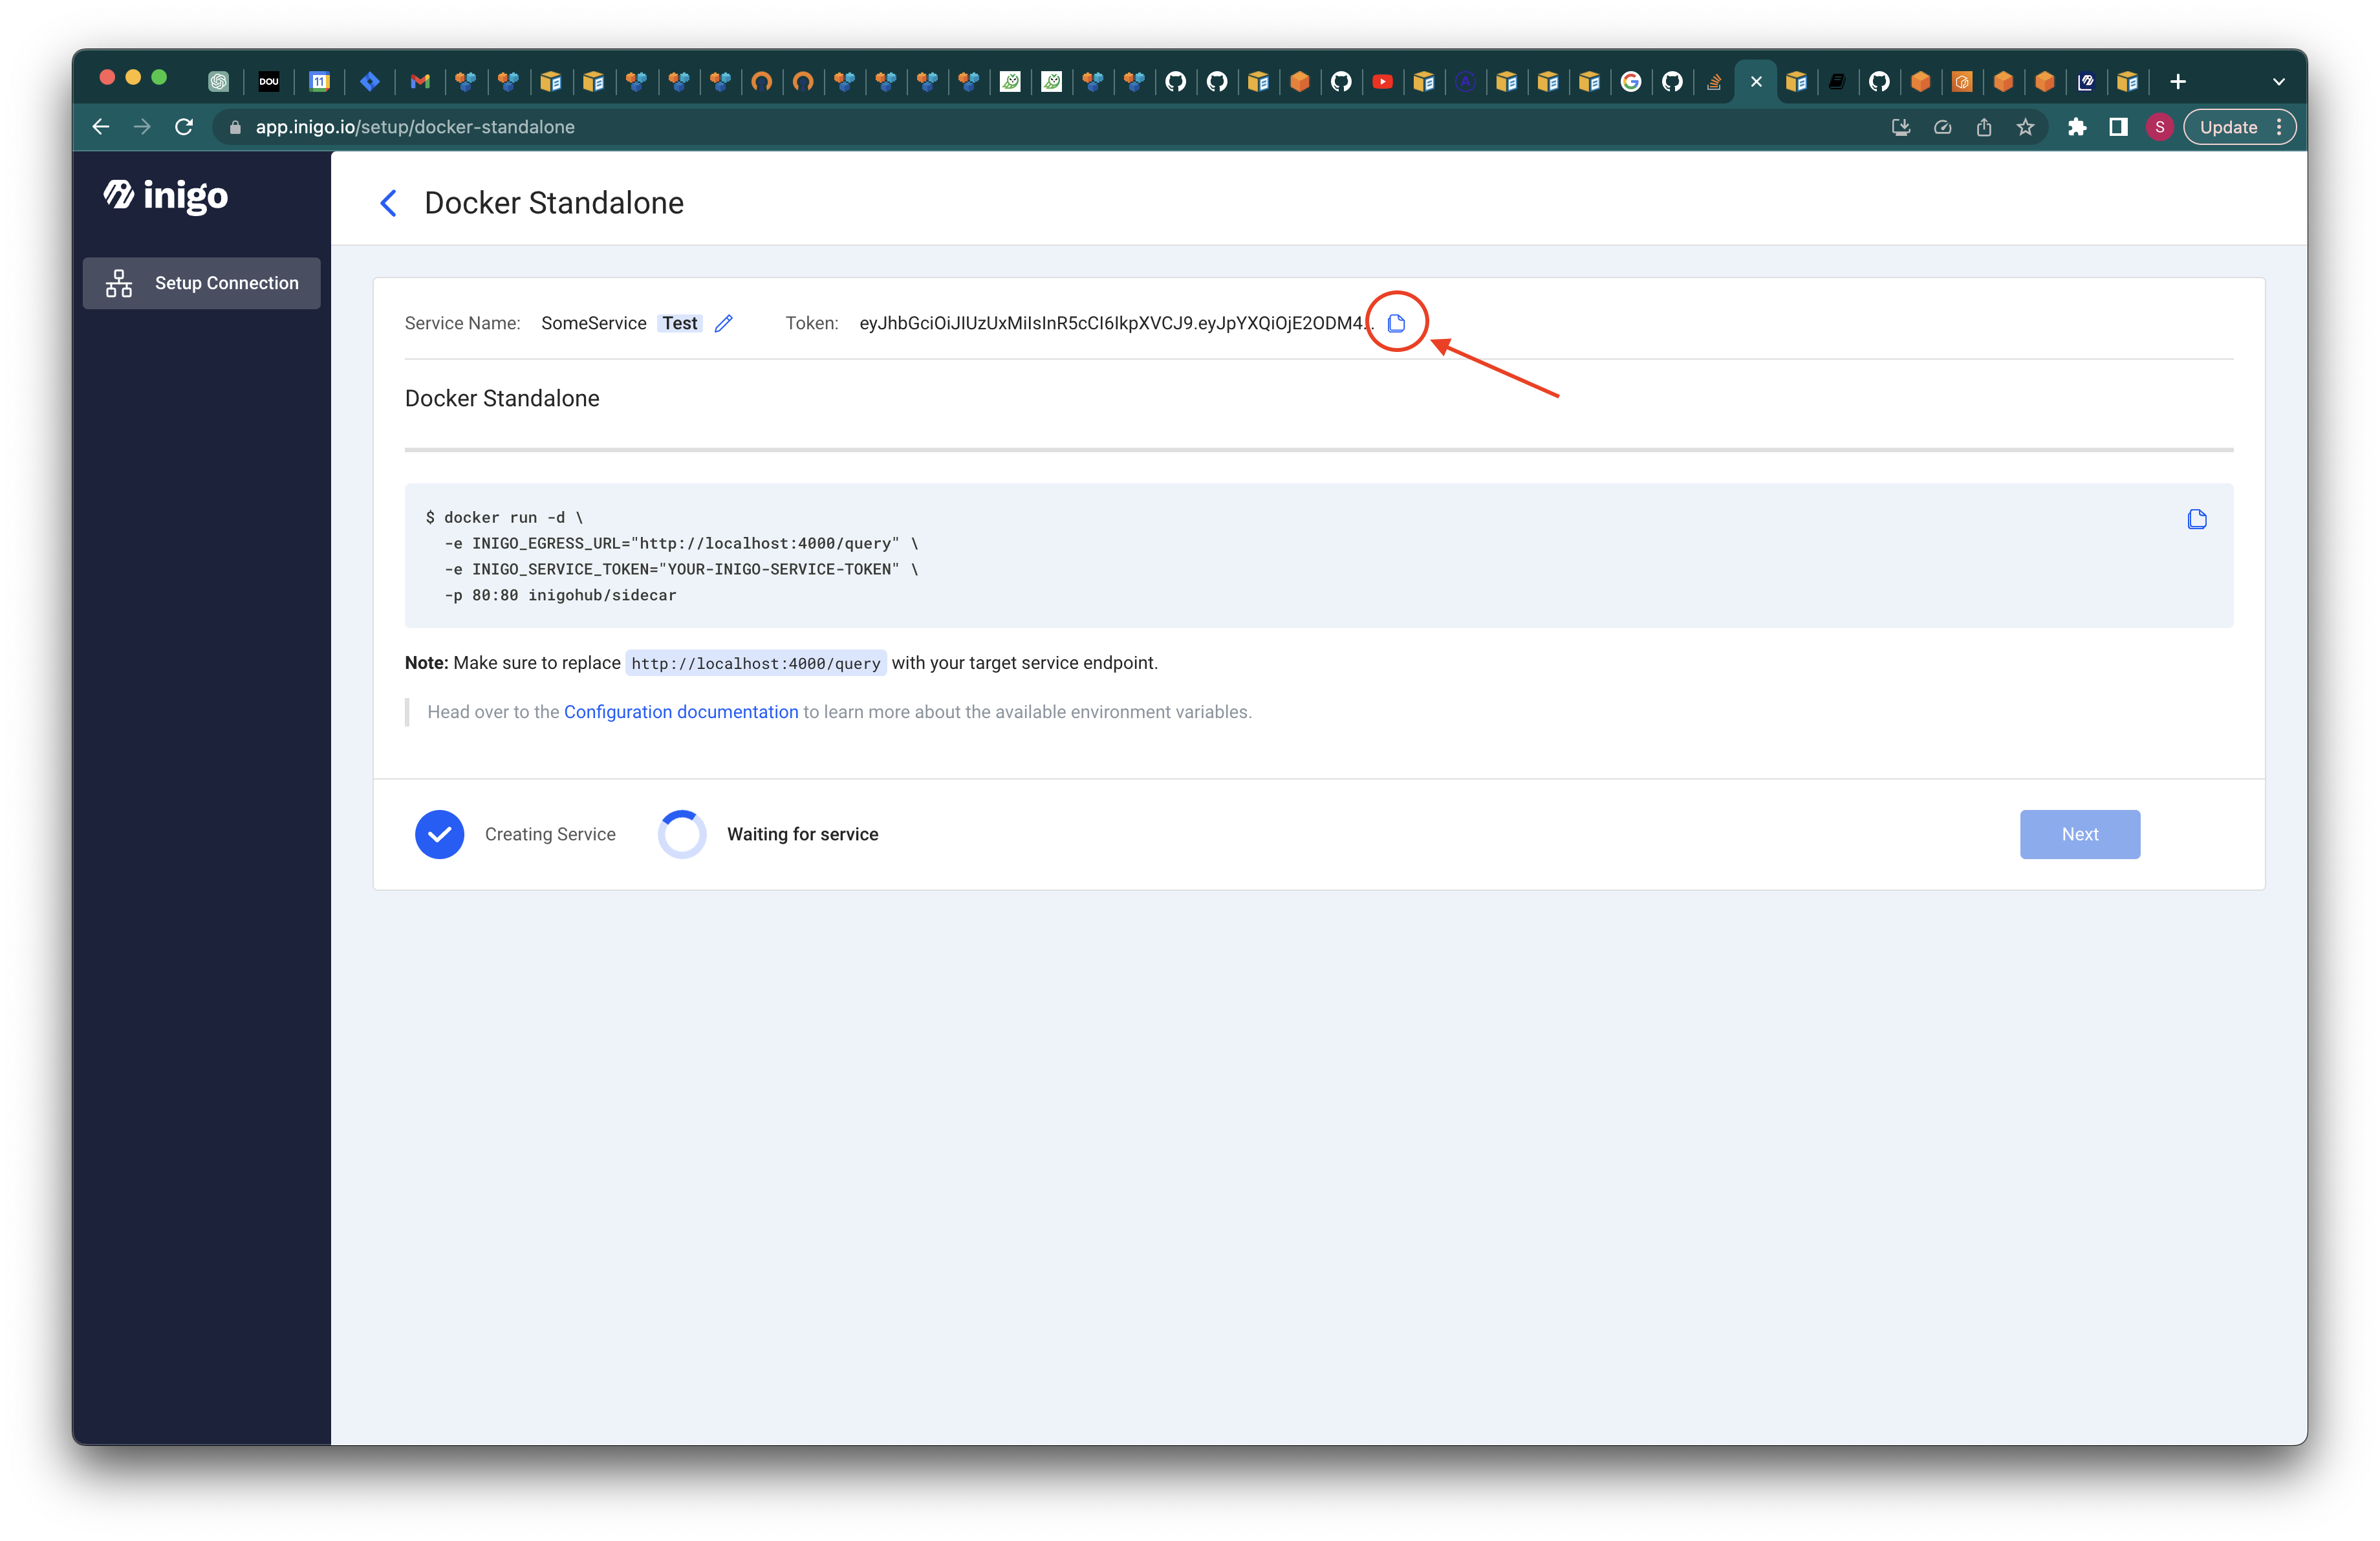
At this point, the work on Inigo's side is over. We will get back to the Inigo dashboard once the AWS configuration is complete.
AWS Agent Subscription
To add Inigo's capabilities to your AppSync service we have to configure the AWS Inigo Agent. Let's go through the subscription and deployment process.
- Head to the
Inigo GraphQL Analyticsproduct page in AWS Marketplace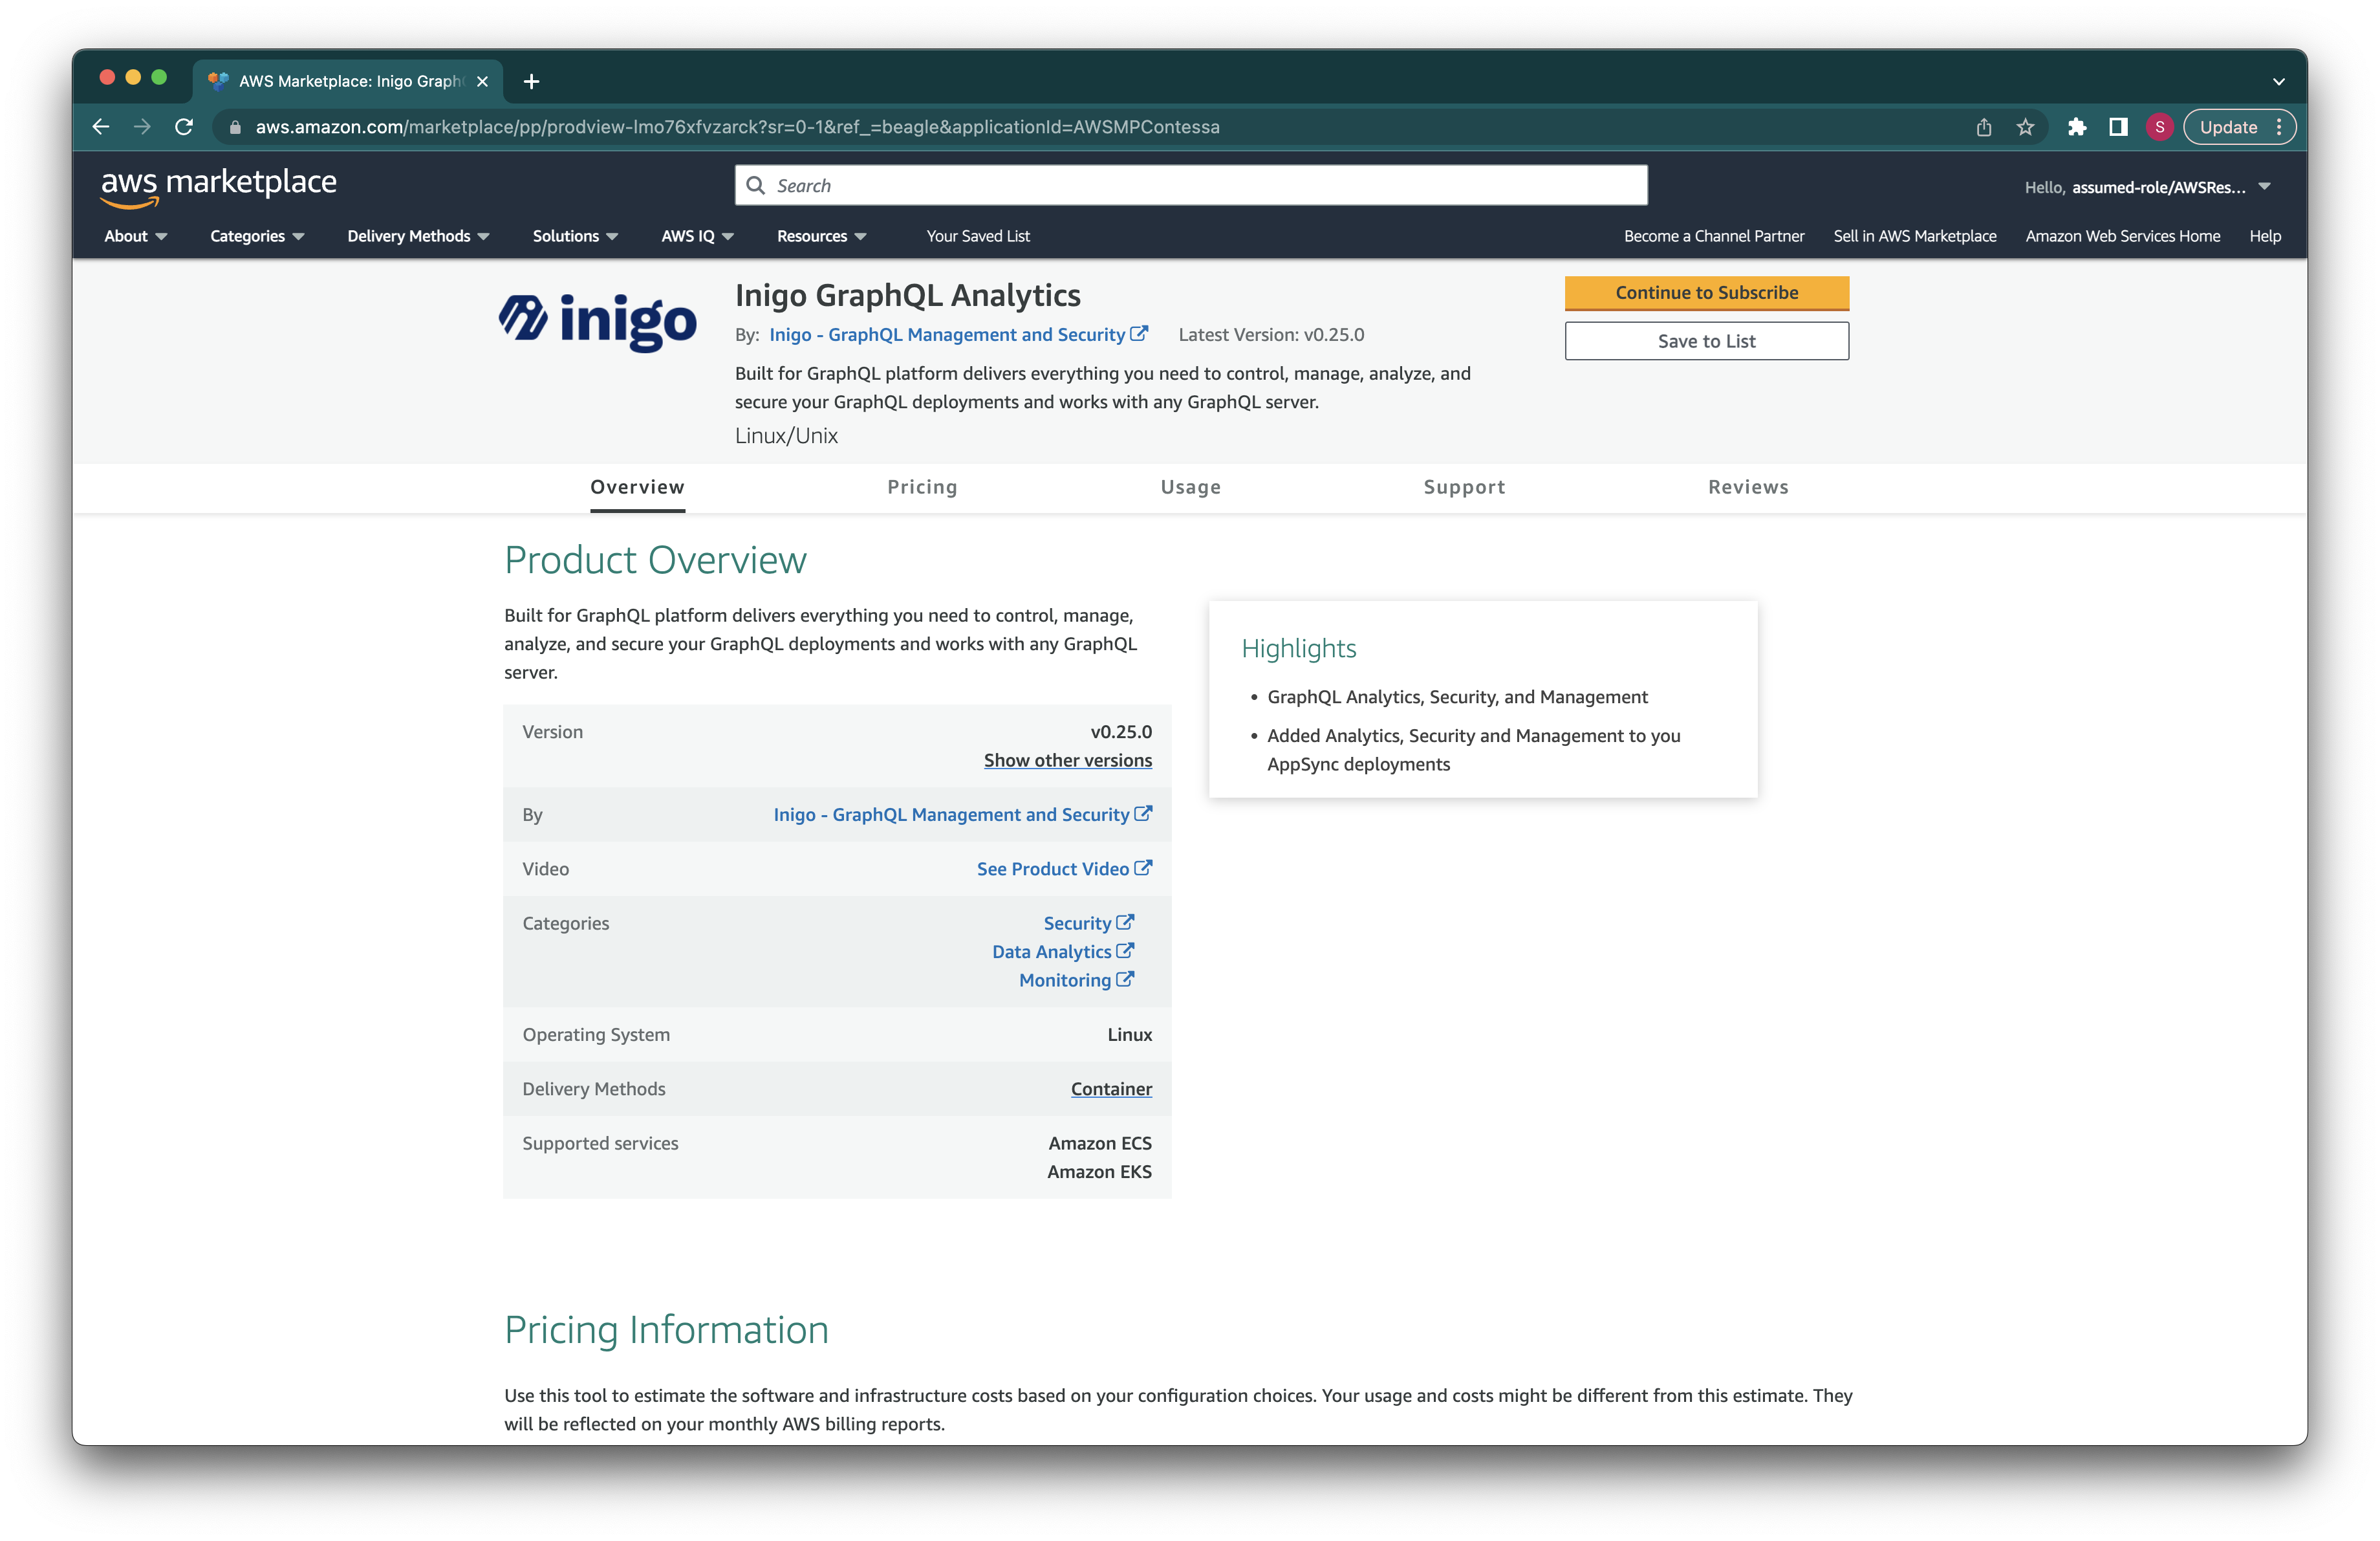
- Click the
Continue to Subscribebutton and accept the terms and conditions.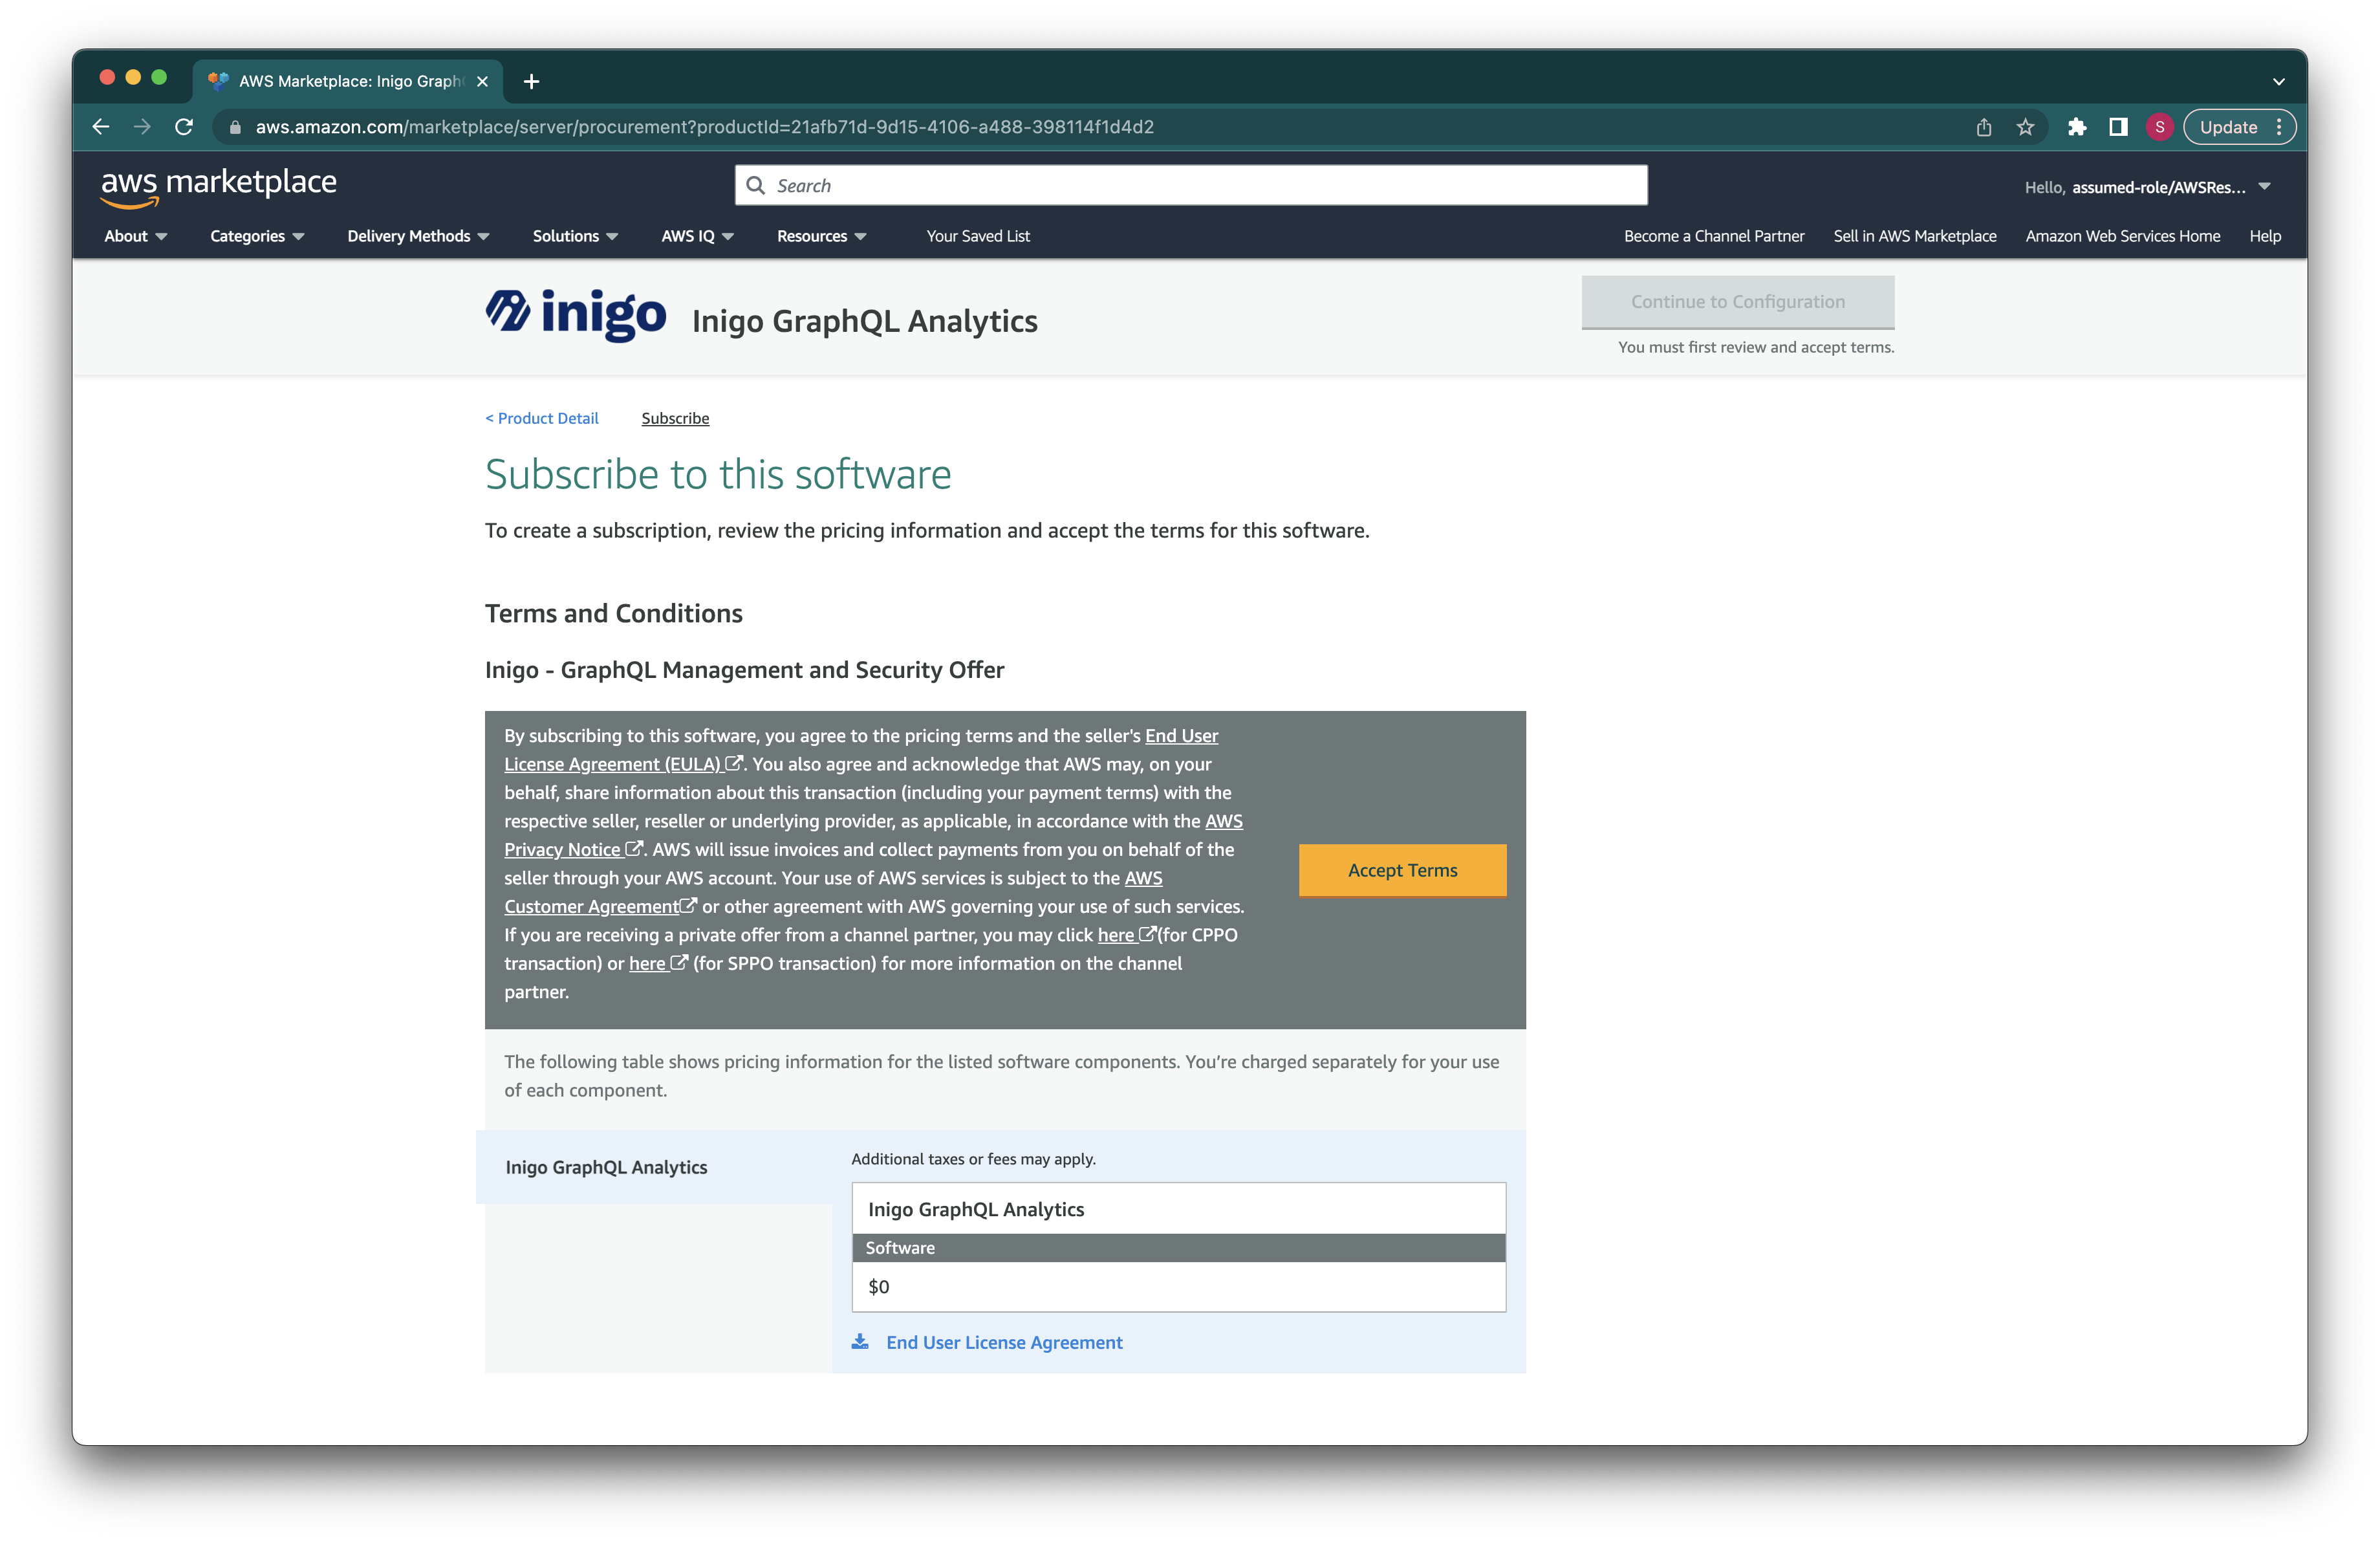
- Wait for the AWS to process acceptance request to complete. Once it is done,
Continue to Configurationbutton will be enabled.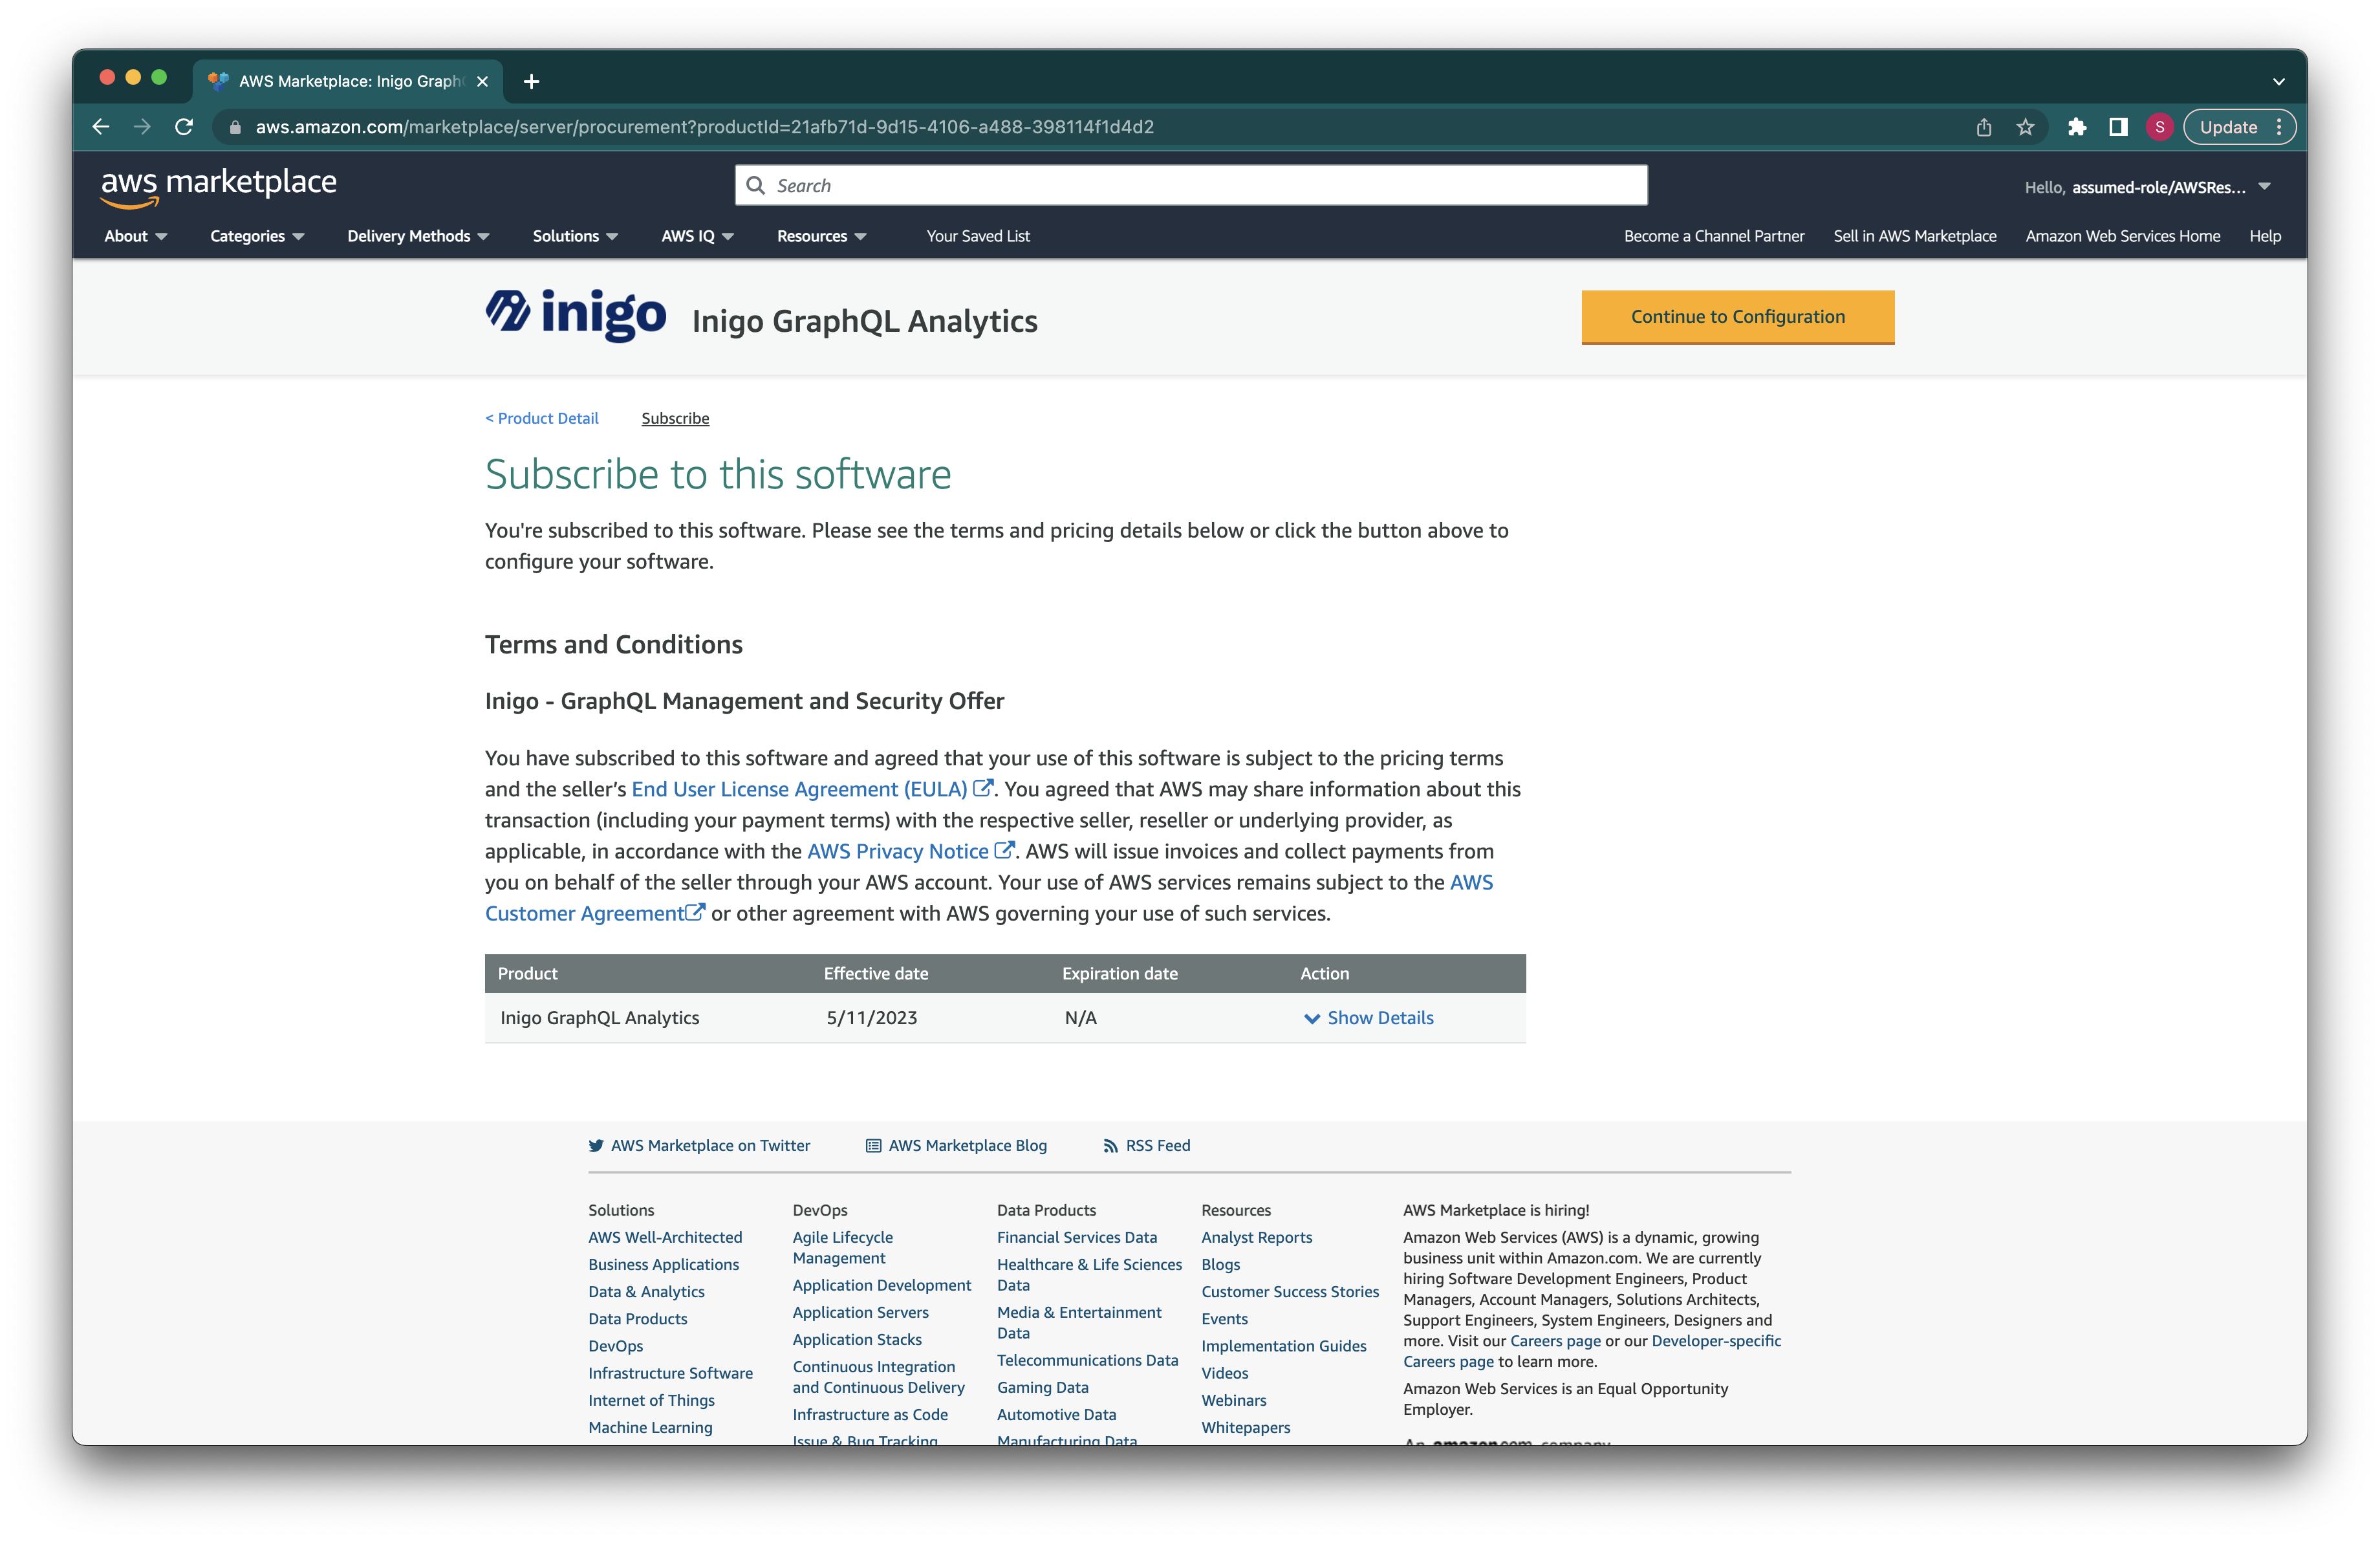
- On the configuration page select
Cloudformation stack for AppSyncfulfillment option, the latest version and hitContinue to Launchbutton.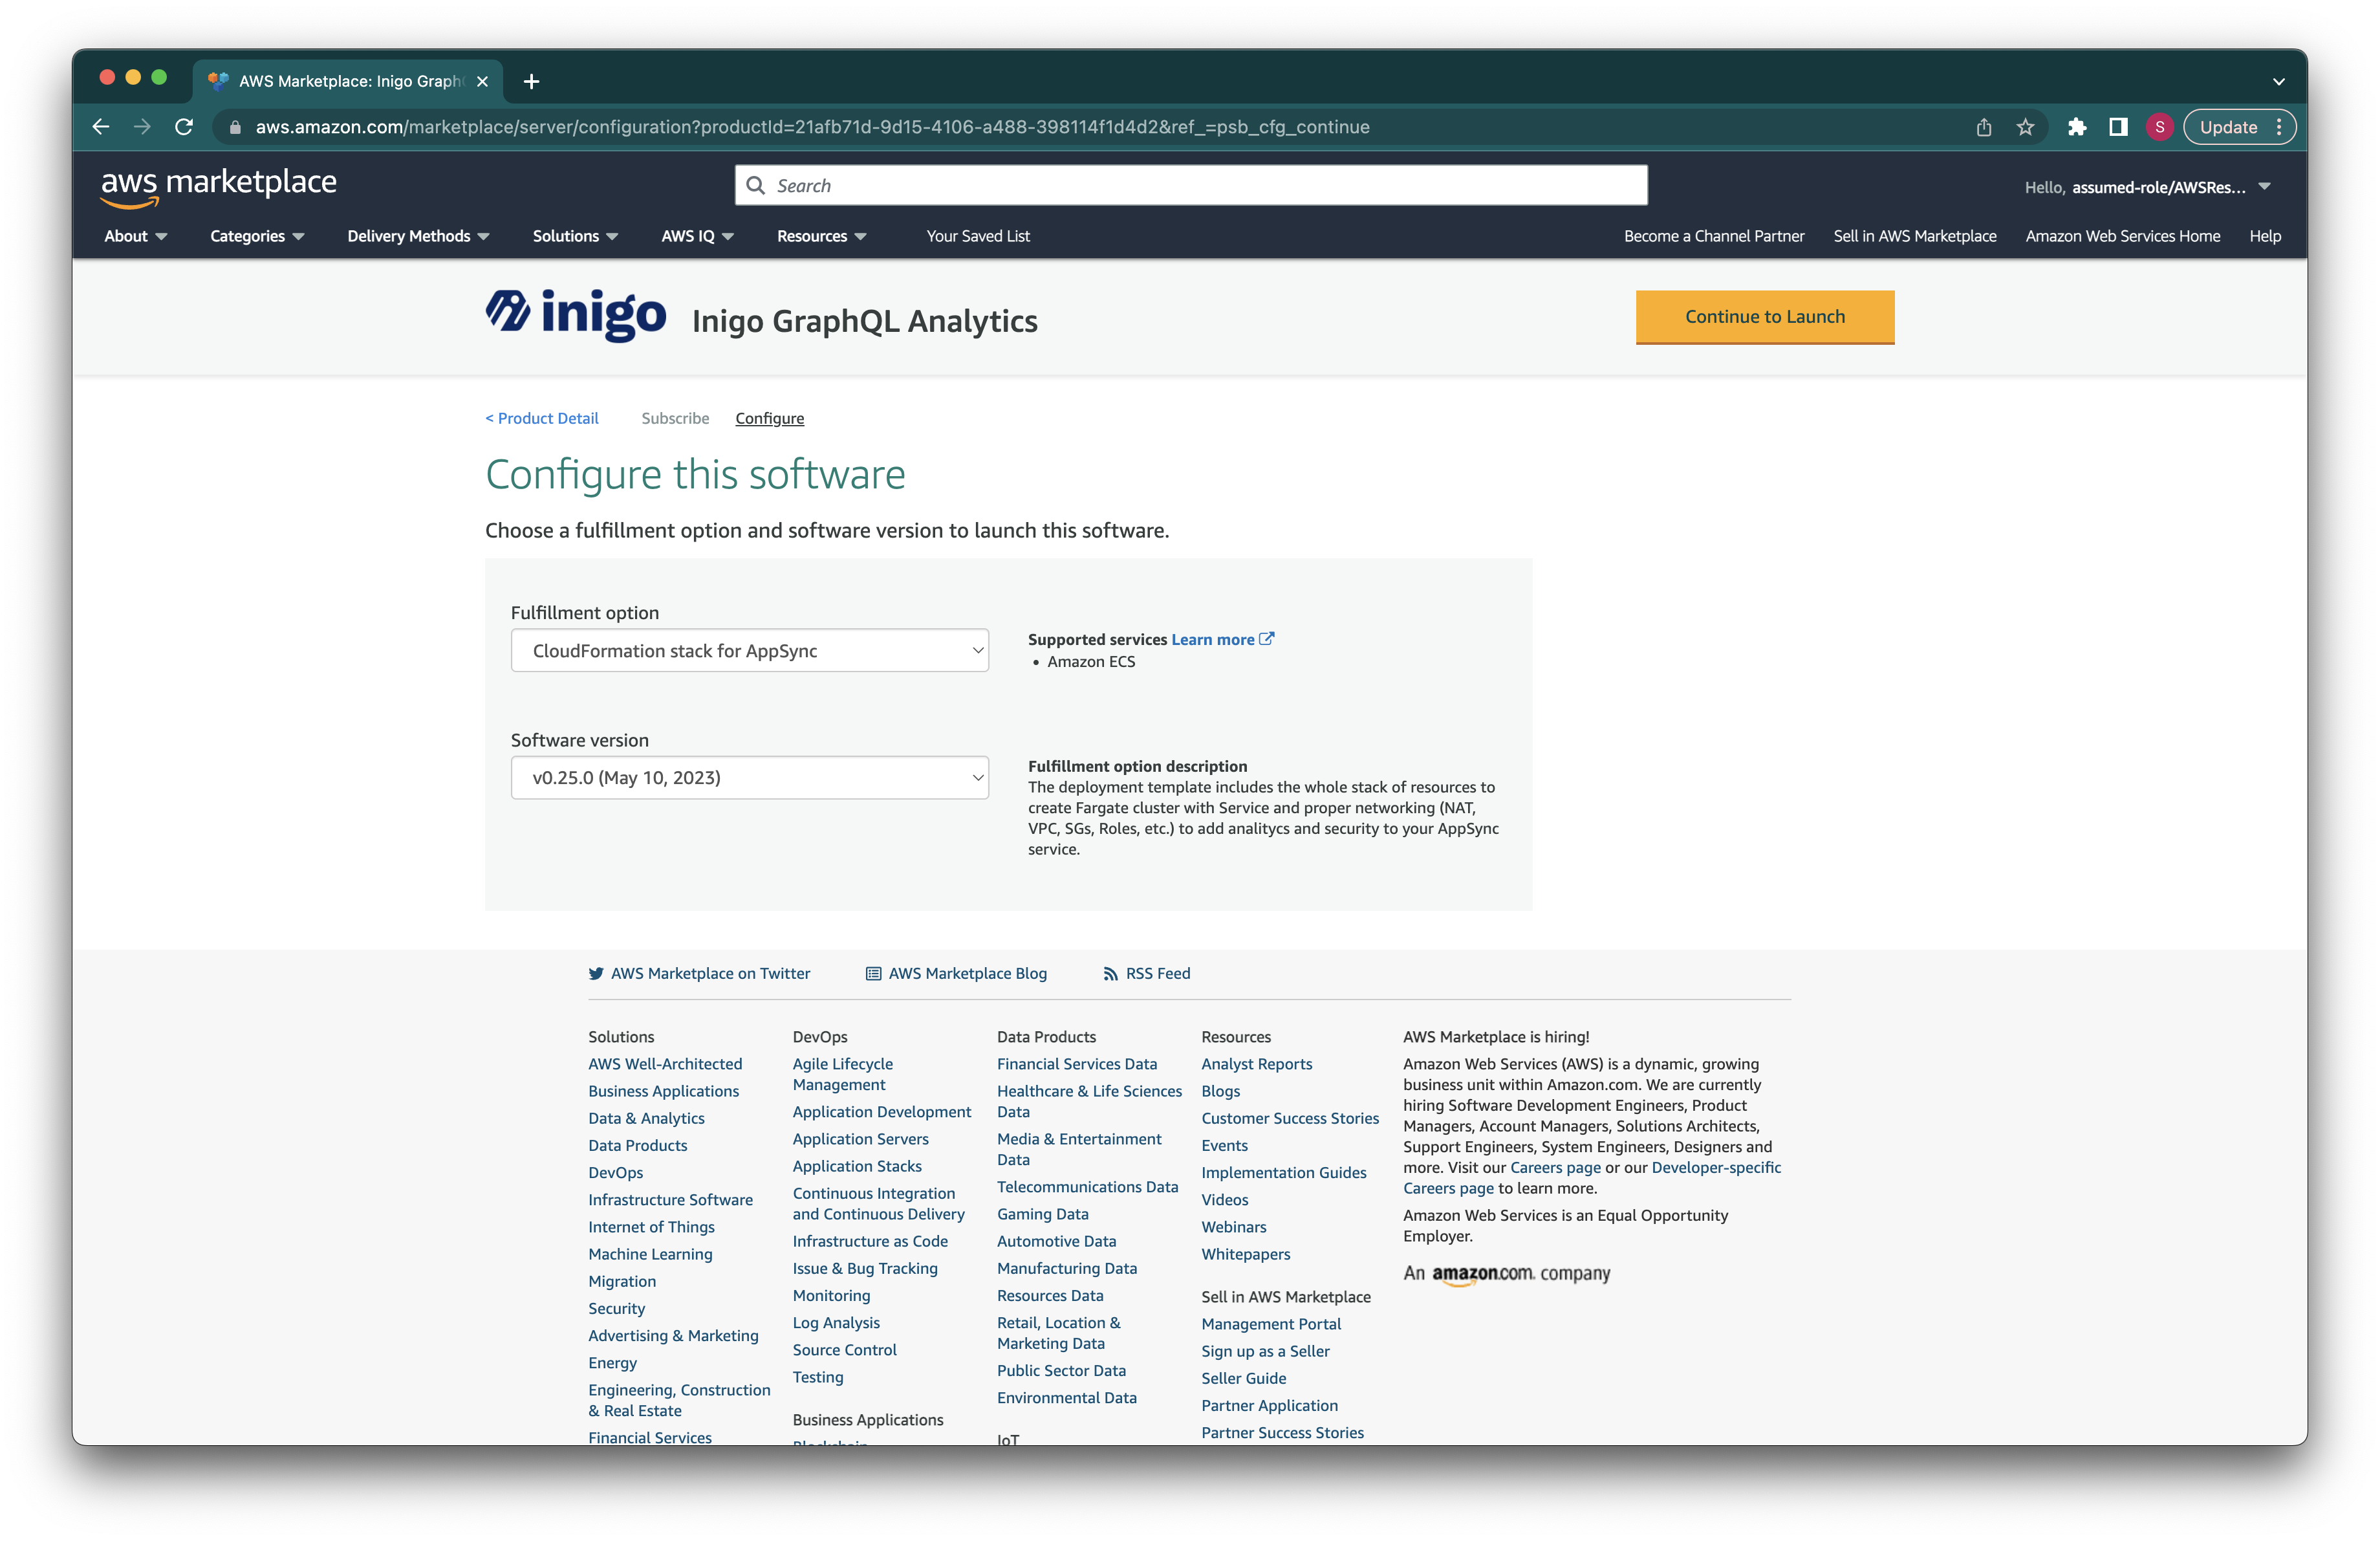
- You'll end up at the page with the usage instructions. In this tutorial, we will use provided template to create a stack. Follow step #4 in the
Usage Instructionssection.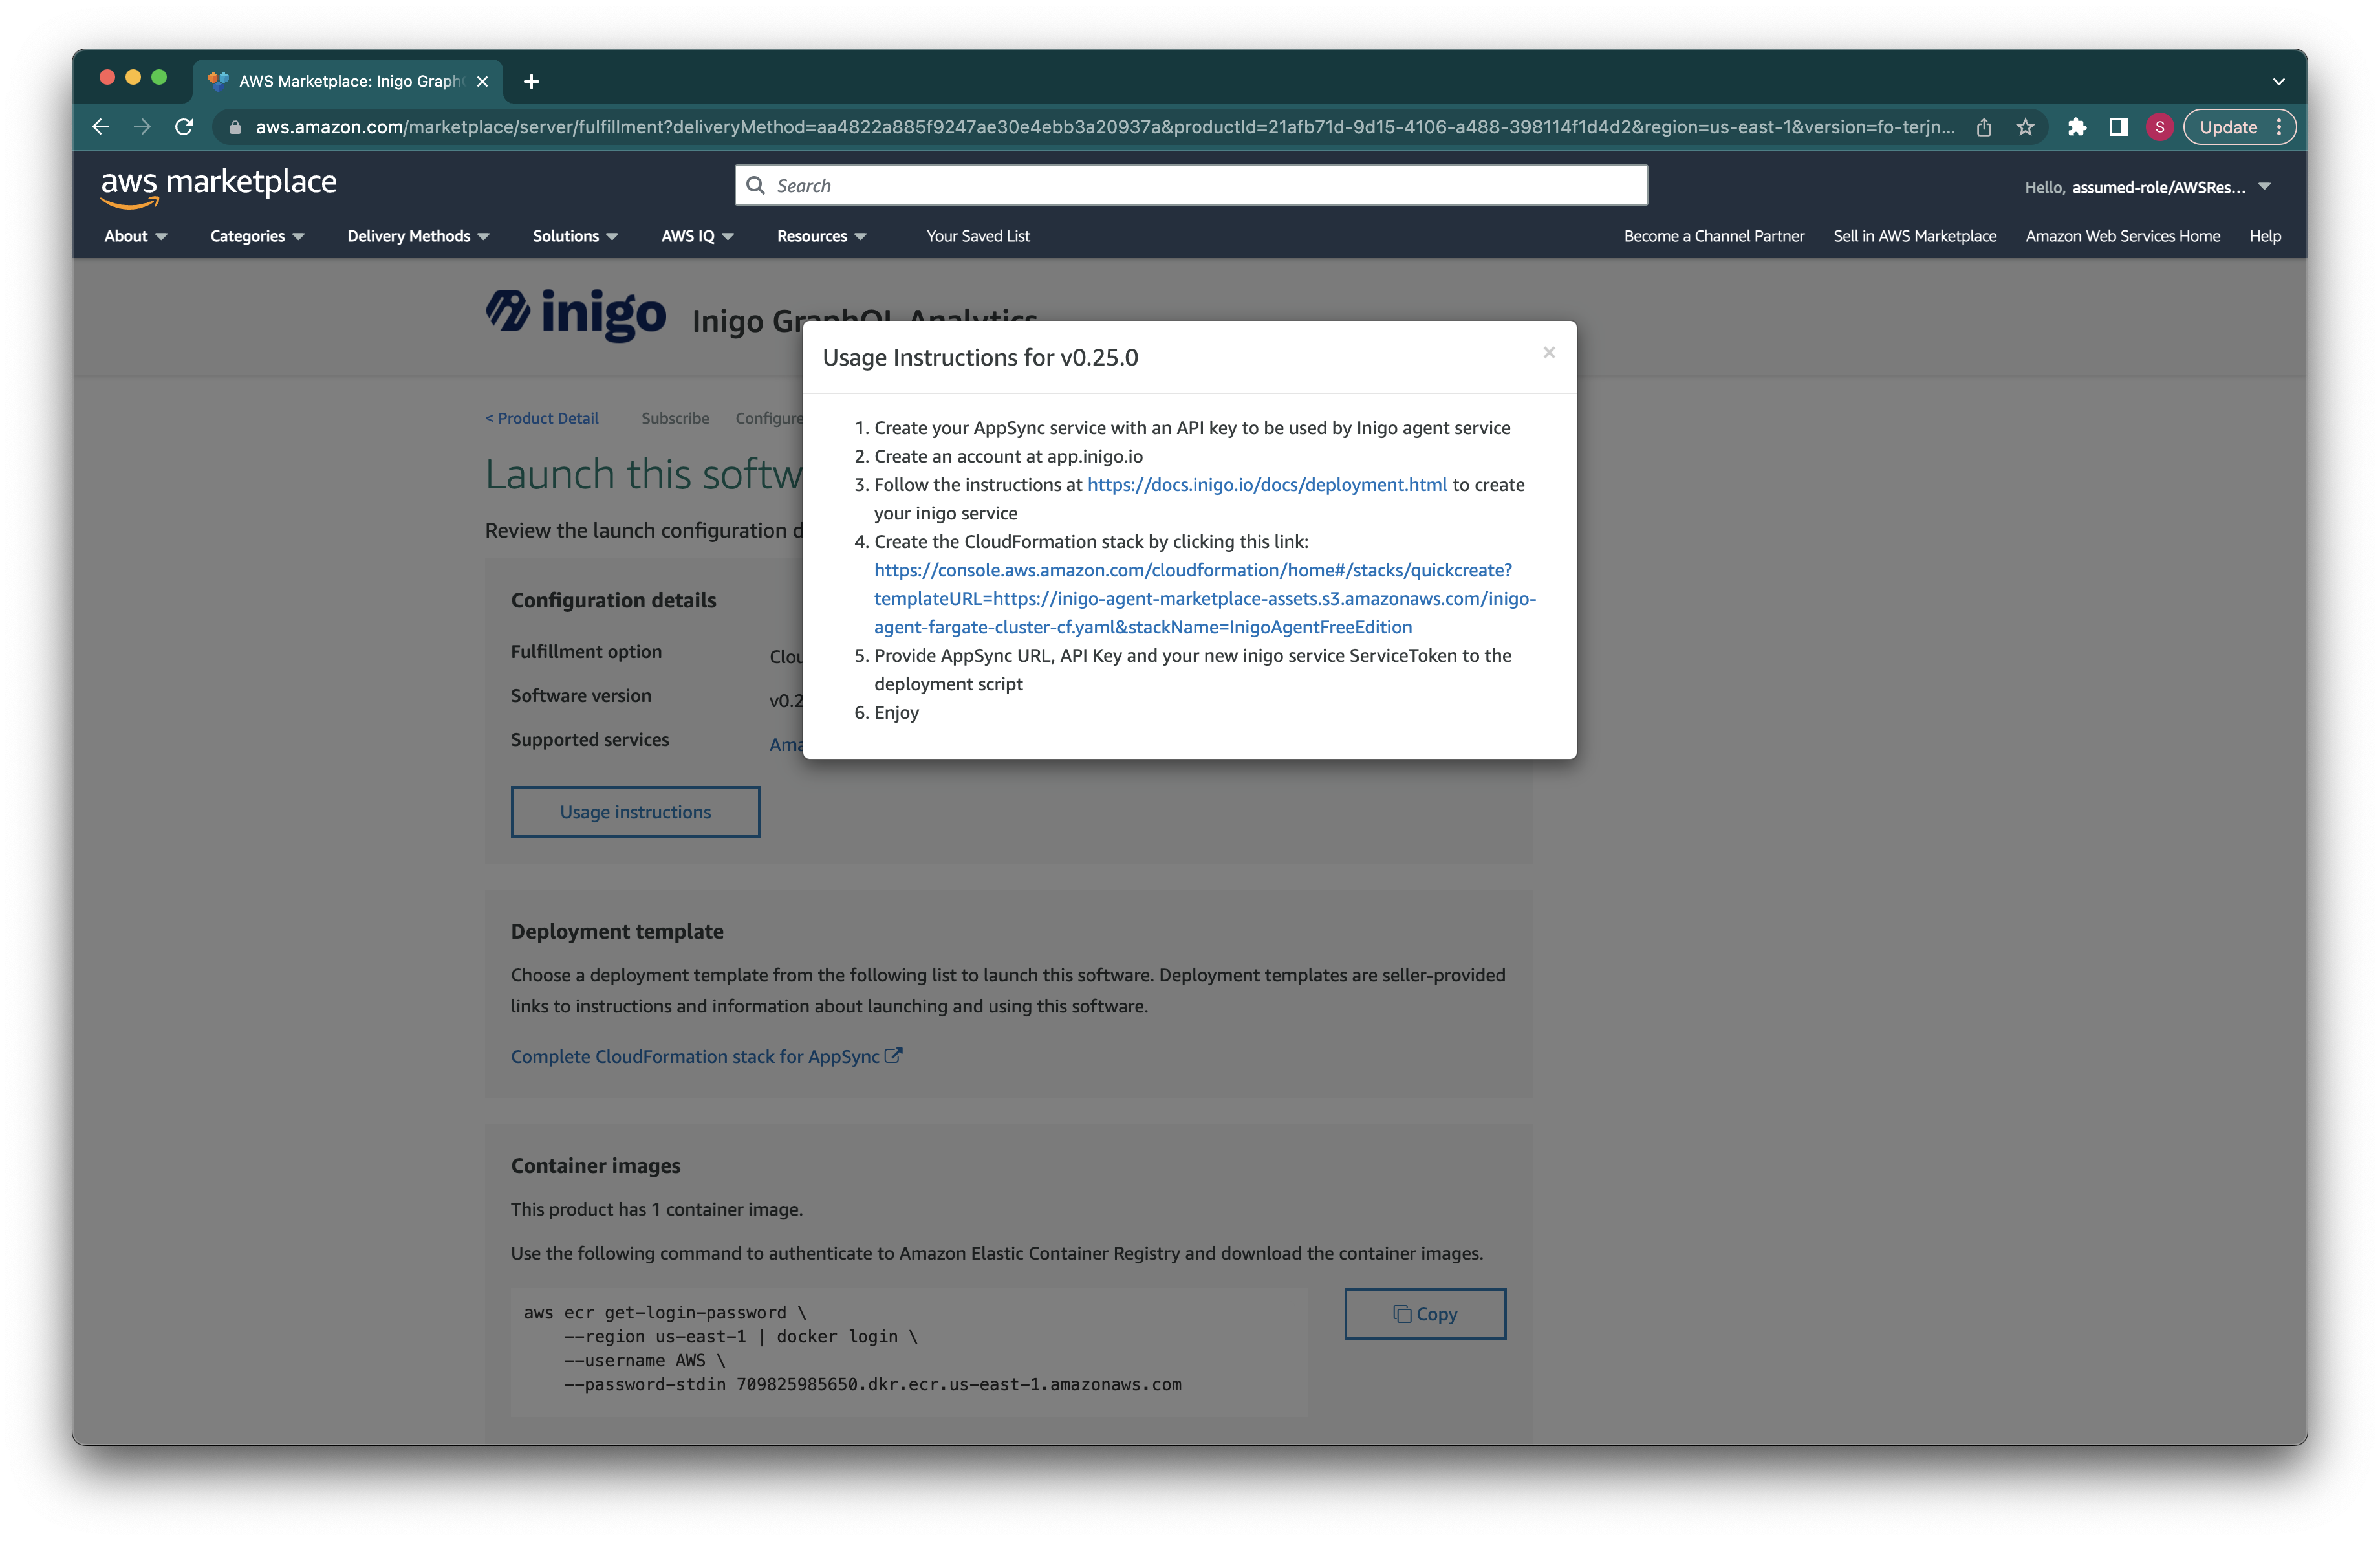
- You can also use container image directly for complete flexibility, or download the CloudFormation template used to create stack by following
Complete CloudFormation stack for AppSynclink.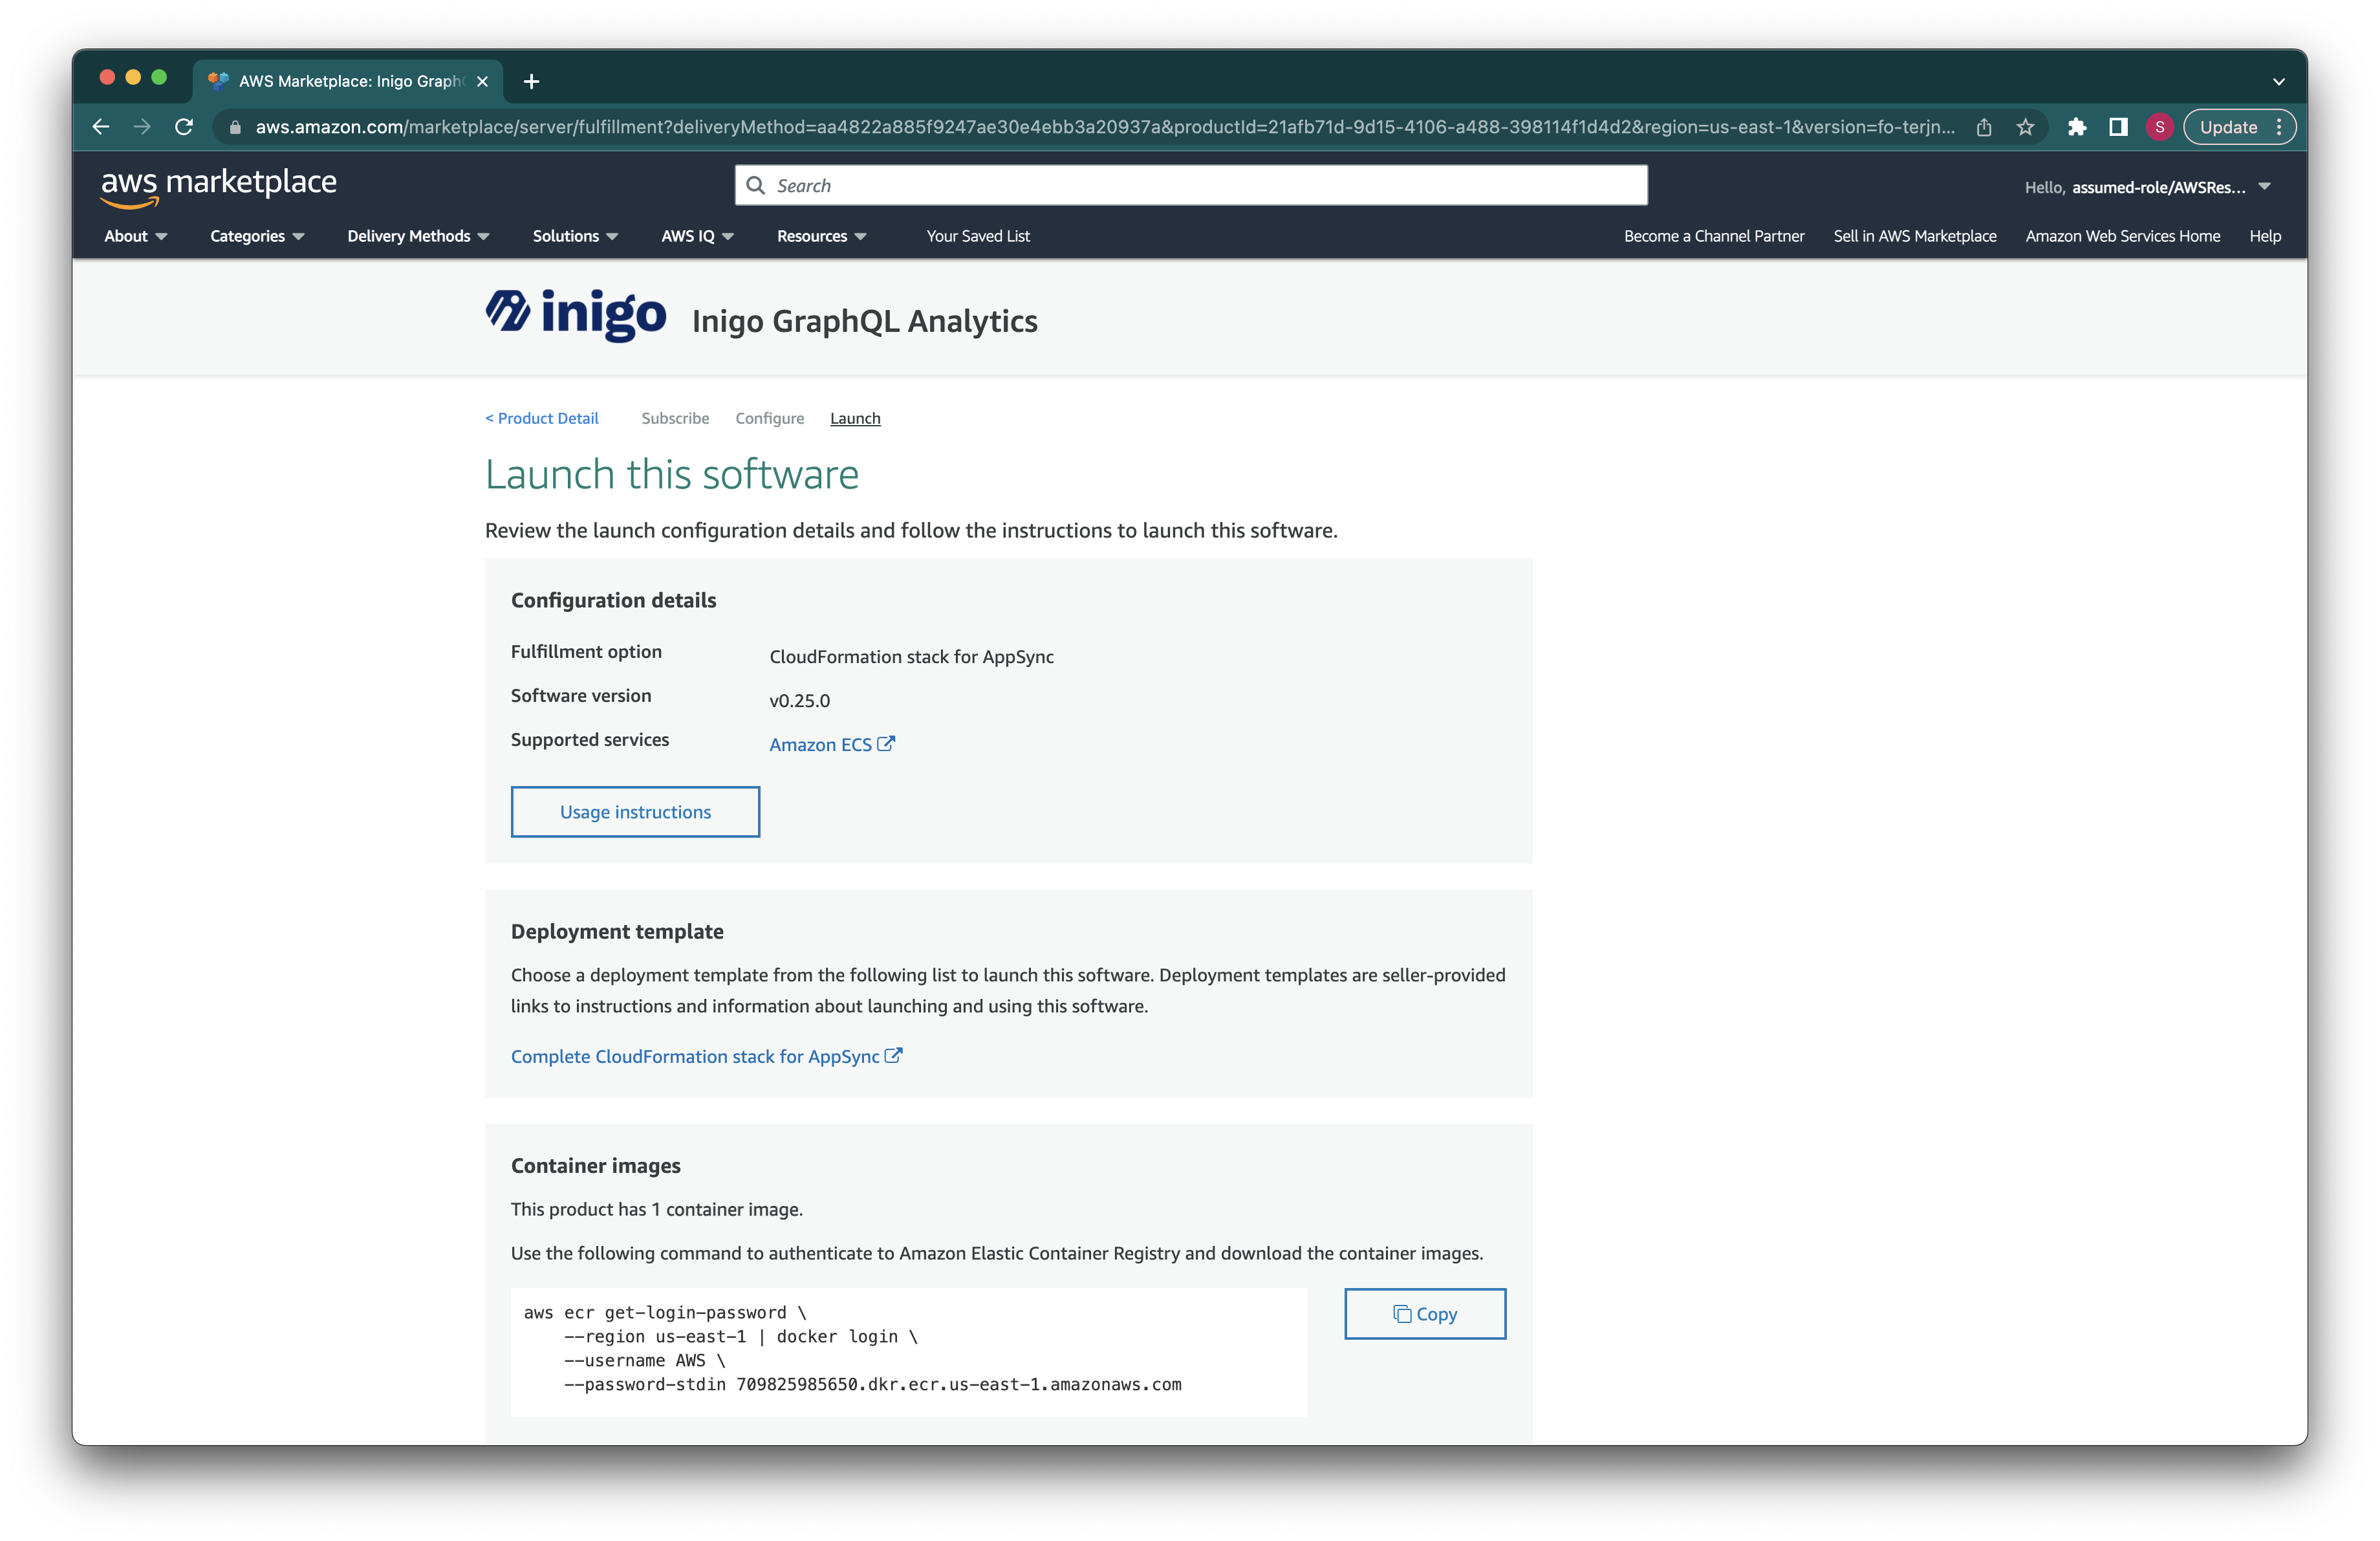
AWS Agent Stack Deployment
At this stage we are going to configure our stack deployment. You should prepare initially stored INIGO_SERVICE_TOKEN, AppSync GraphQL endpoint and API Key for the same.
- Fill in initially prepared parameters to the stack, agree to the required resource capabilities and
Create Stack. You can change stack name to whatever you like. ForRemoteAccessCIDRyou can choose any suitable CIDR range. In our example we will make it public (0.0.0.0/0).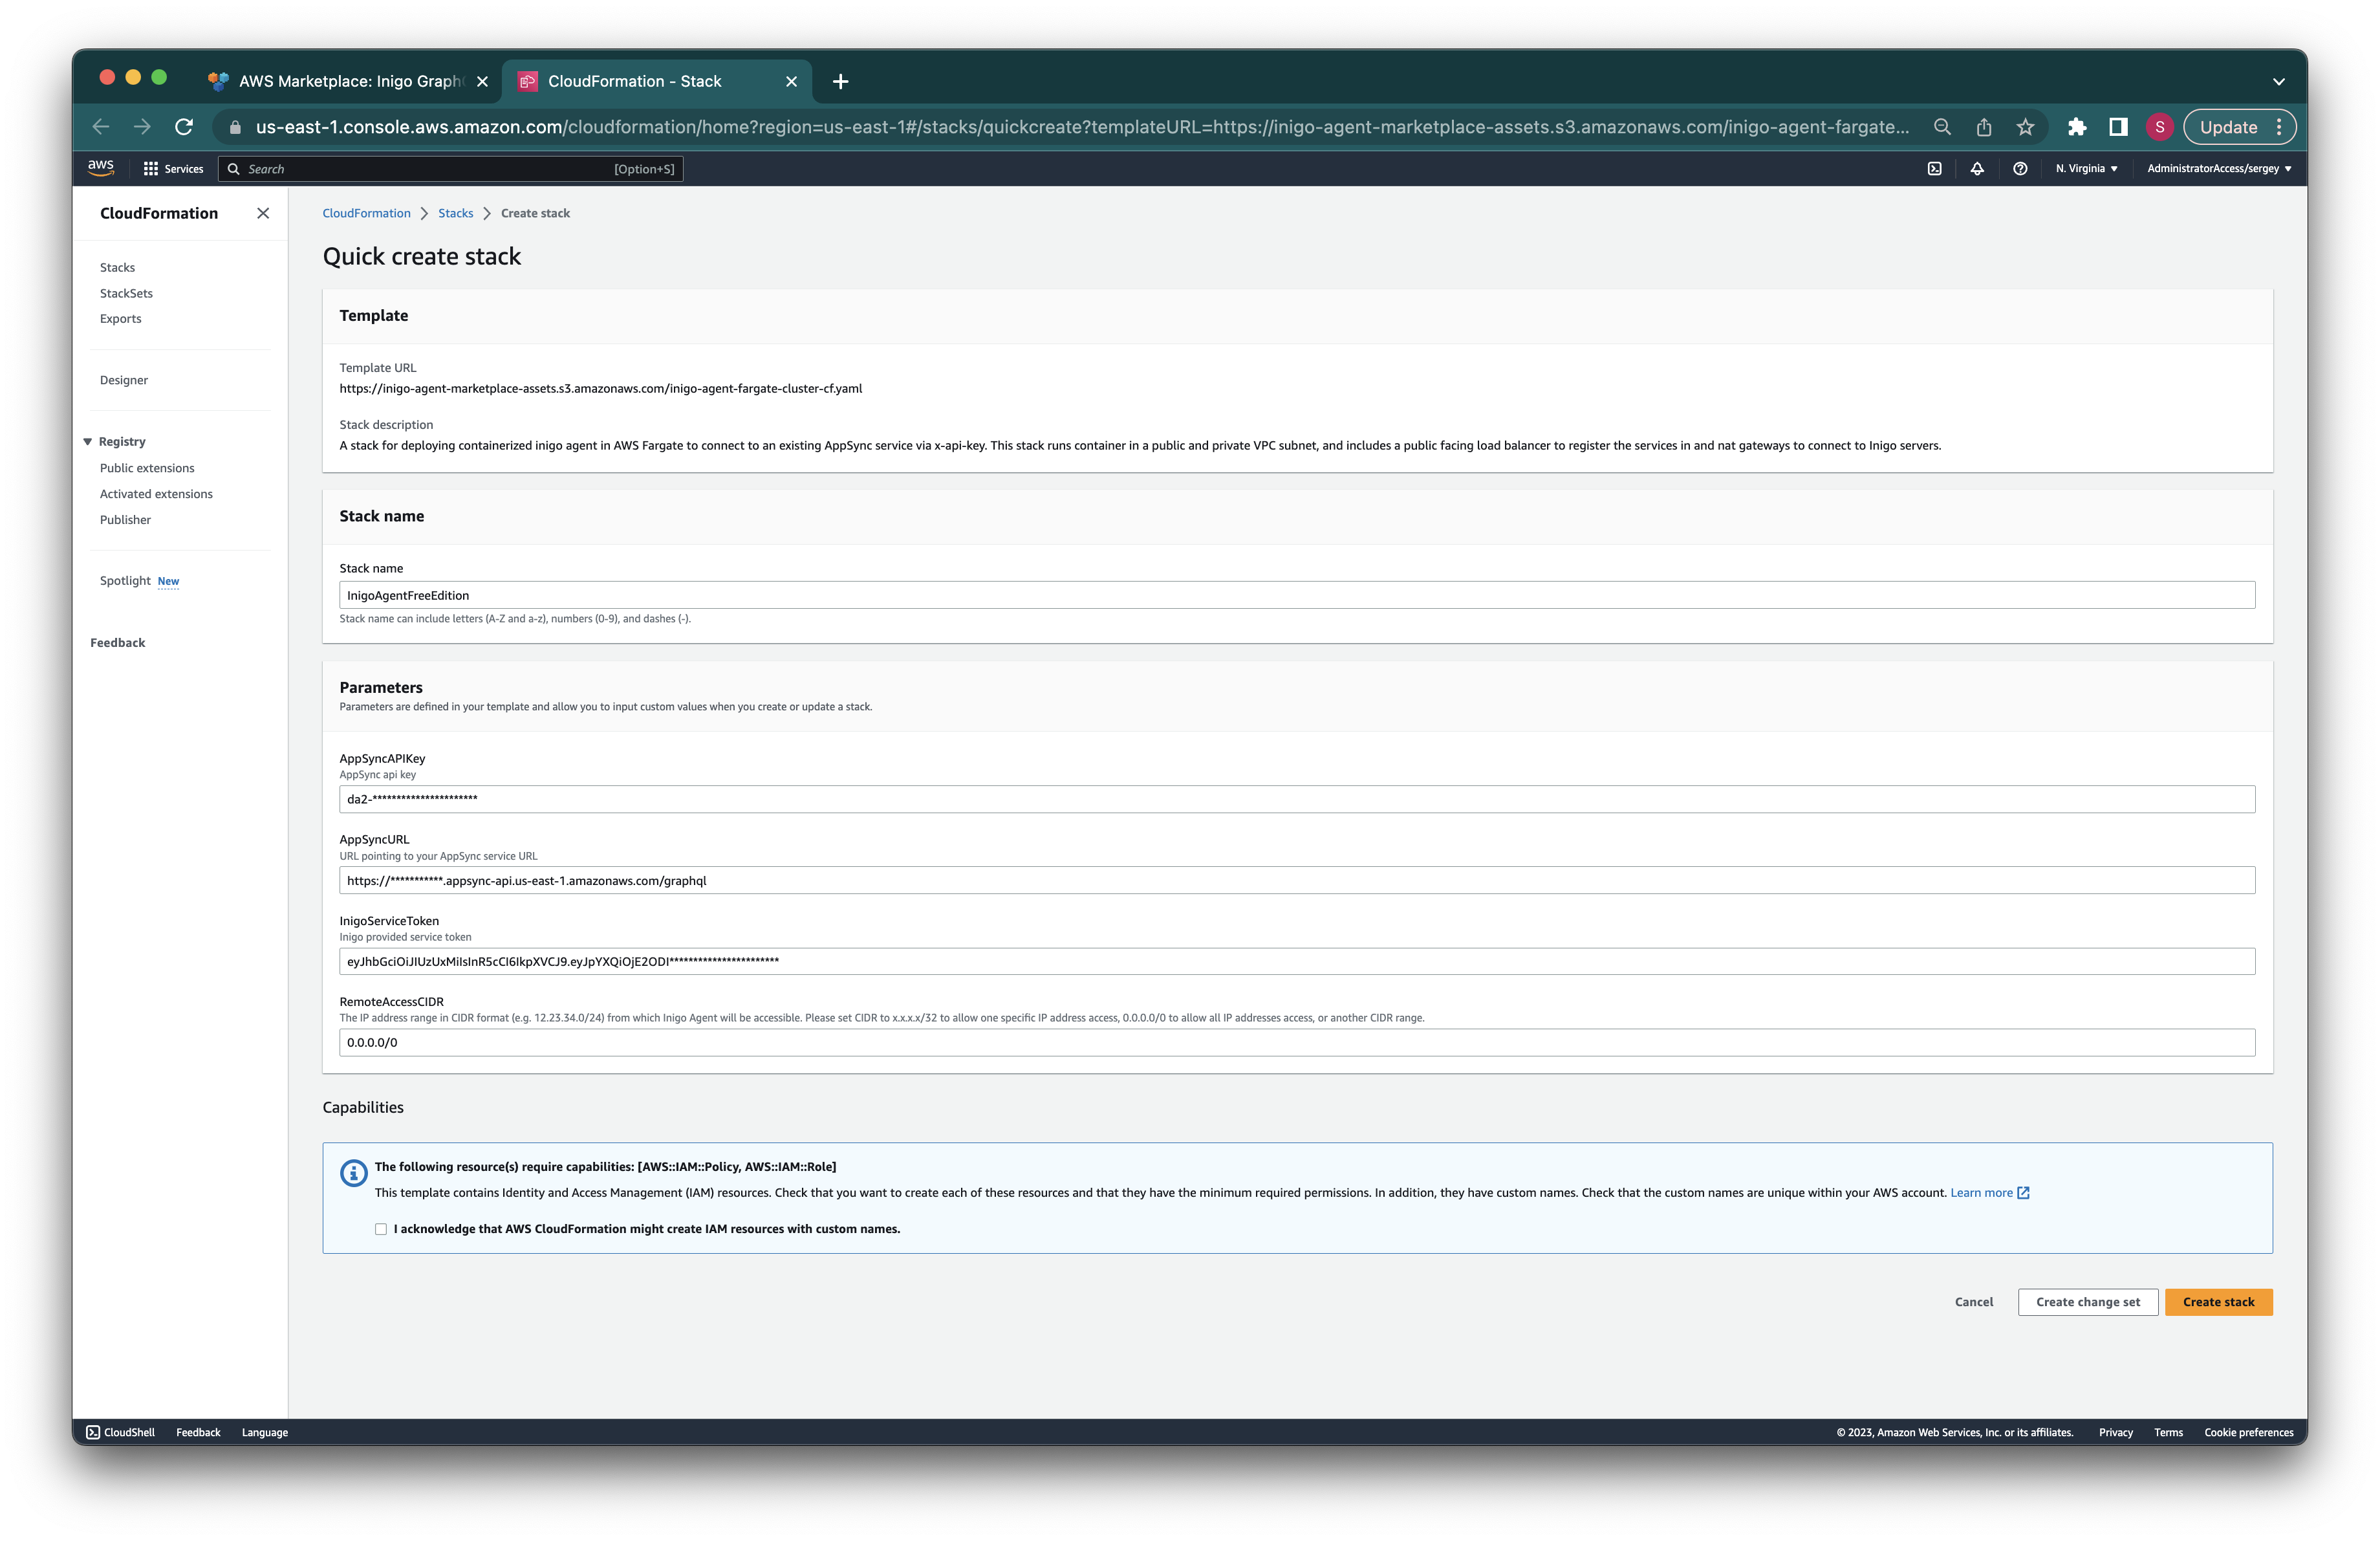
- AppSyncAPIKey - AppSync API Key
- AppSyncURL - AppSync service GraphQL endpoint
- InigoServiceToken - Inigo's service token
- RemoteAccessCIDR - Range of allowed IPs
-
Stack creation process should start. Let's wait until its status changes from
CREATE_IN_PROGRESStoCREATE_COMPLETE. It usually takes up to 5 minutes.
-
Once stack is created, under the
Outputstab, copy theExternalUrlvalue which points to your exposed load balancer pointing to deployed Inigo agent service. Let's copy that value.
-
Using the browser, navigate to
ExternalUrlby adding/playgroundto its path, and you are good to go with making the queries to your AppSync server. Alternatively, you can use any GraphQL client/playground tool by pointing it toExternalUrlwith/graphql.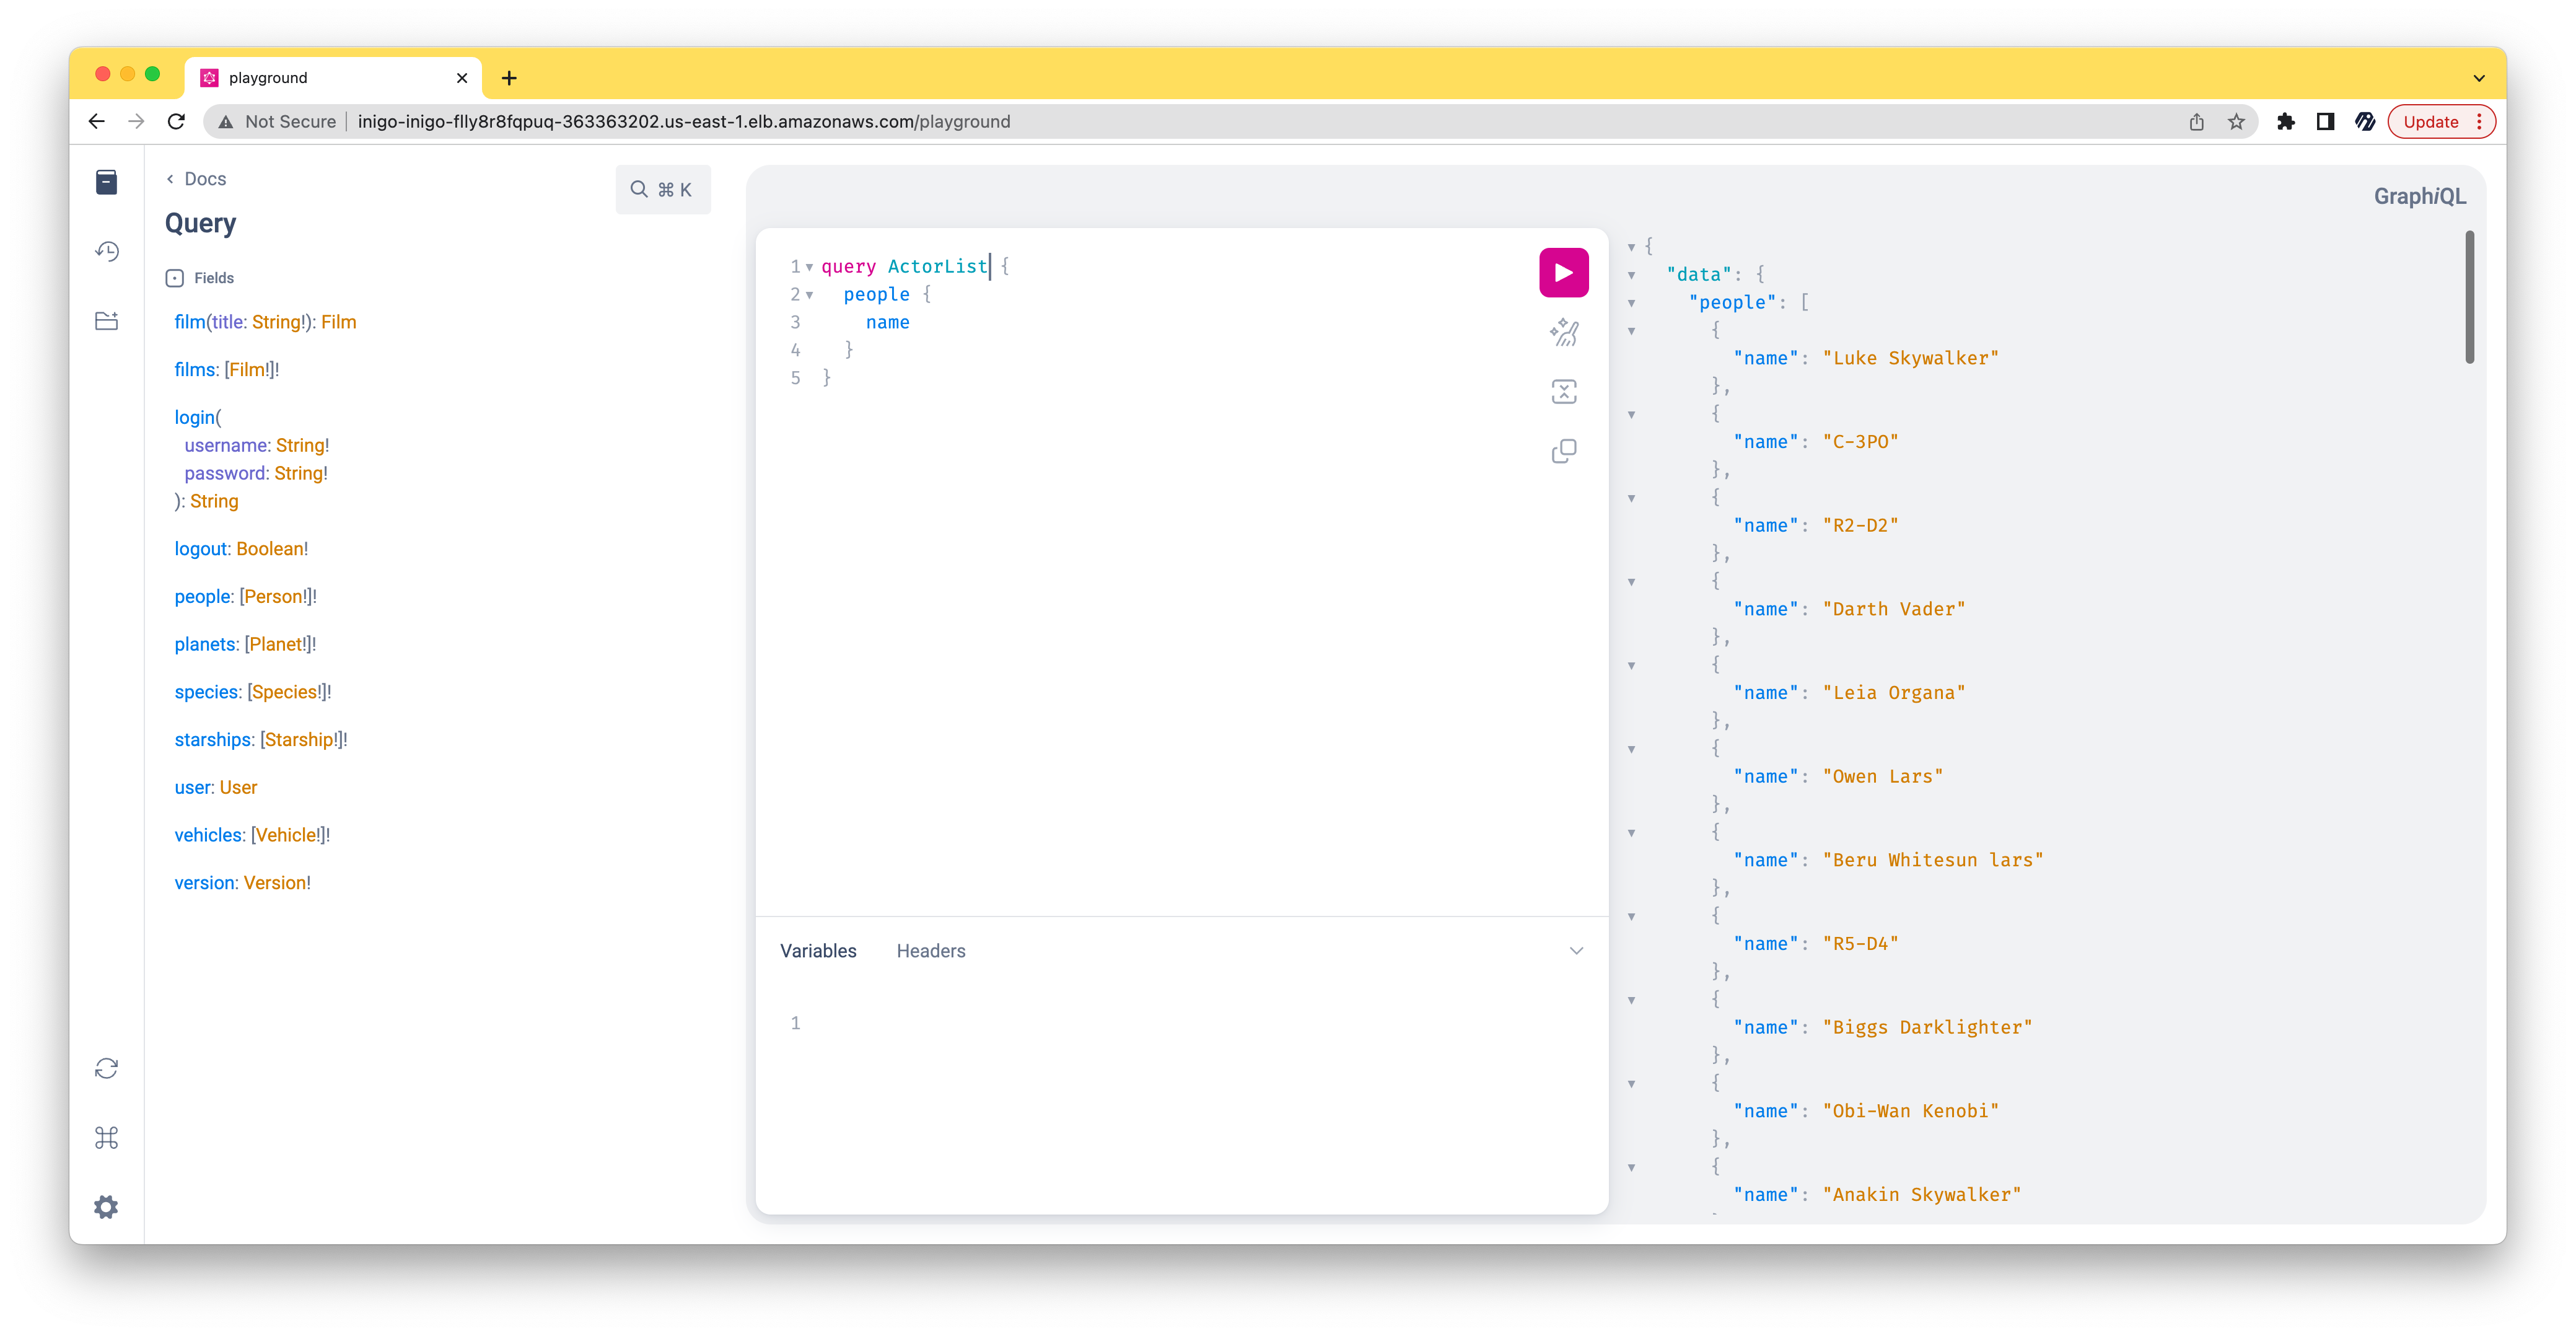
-
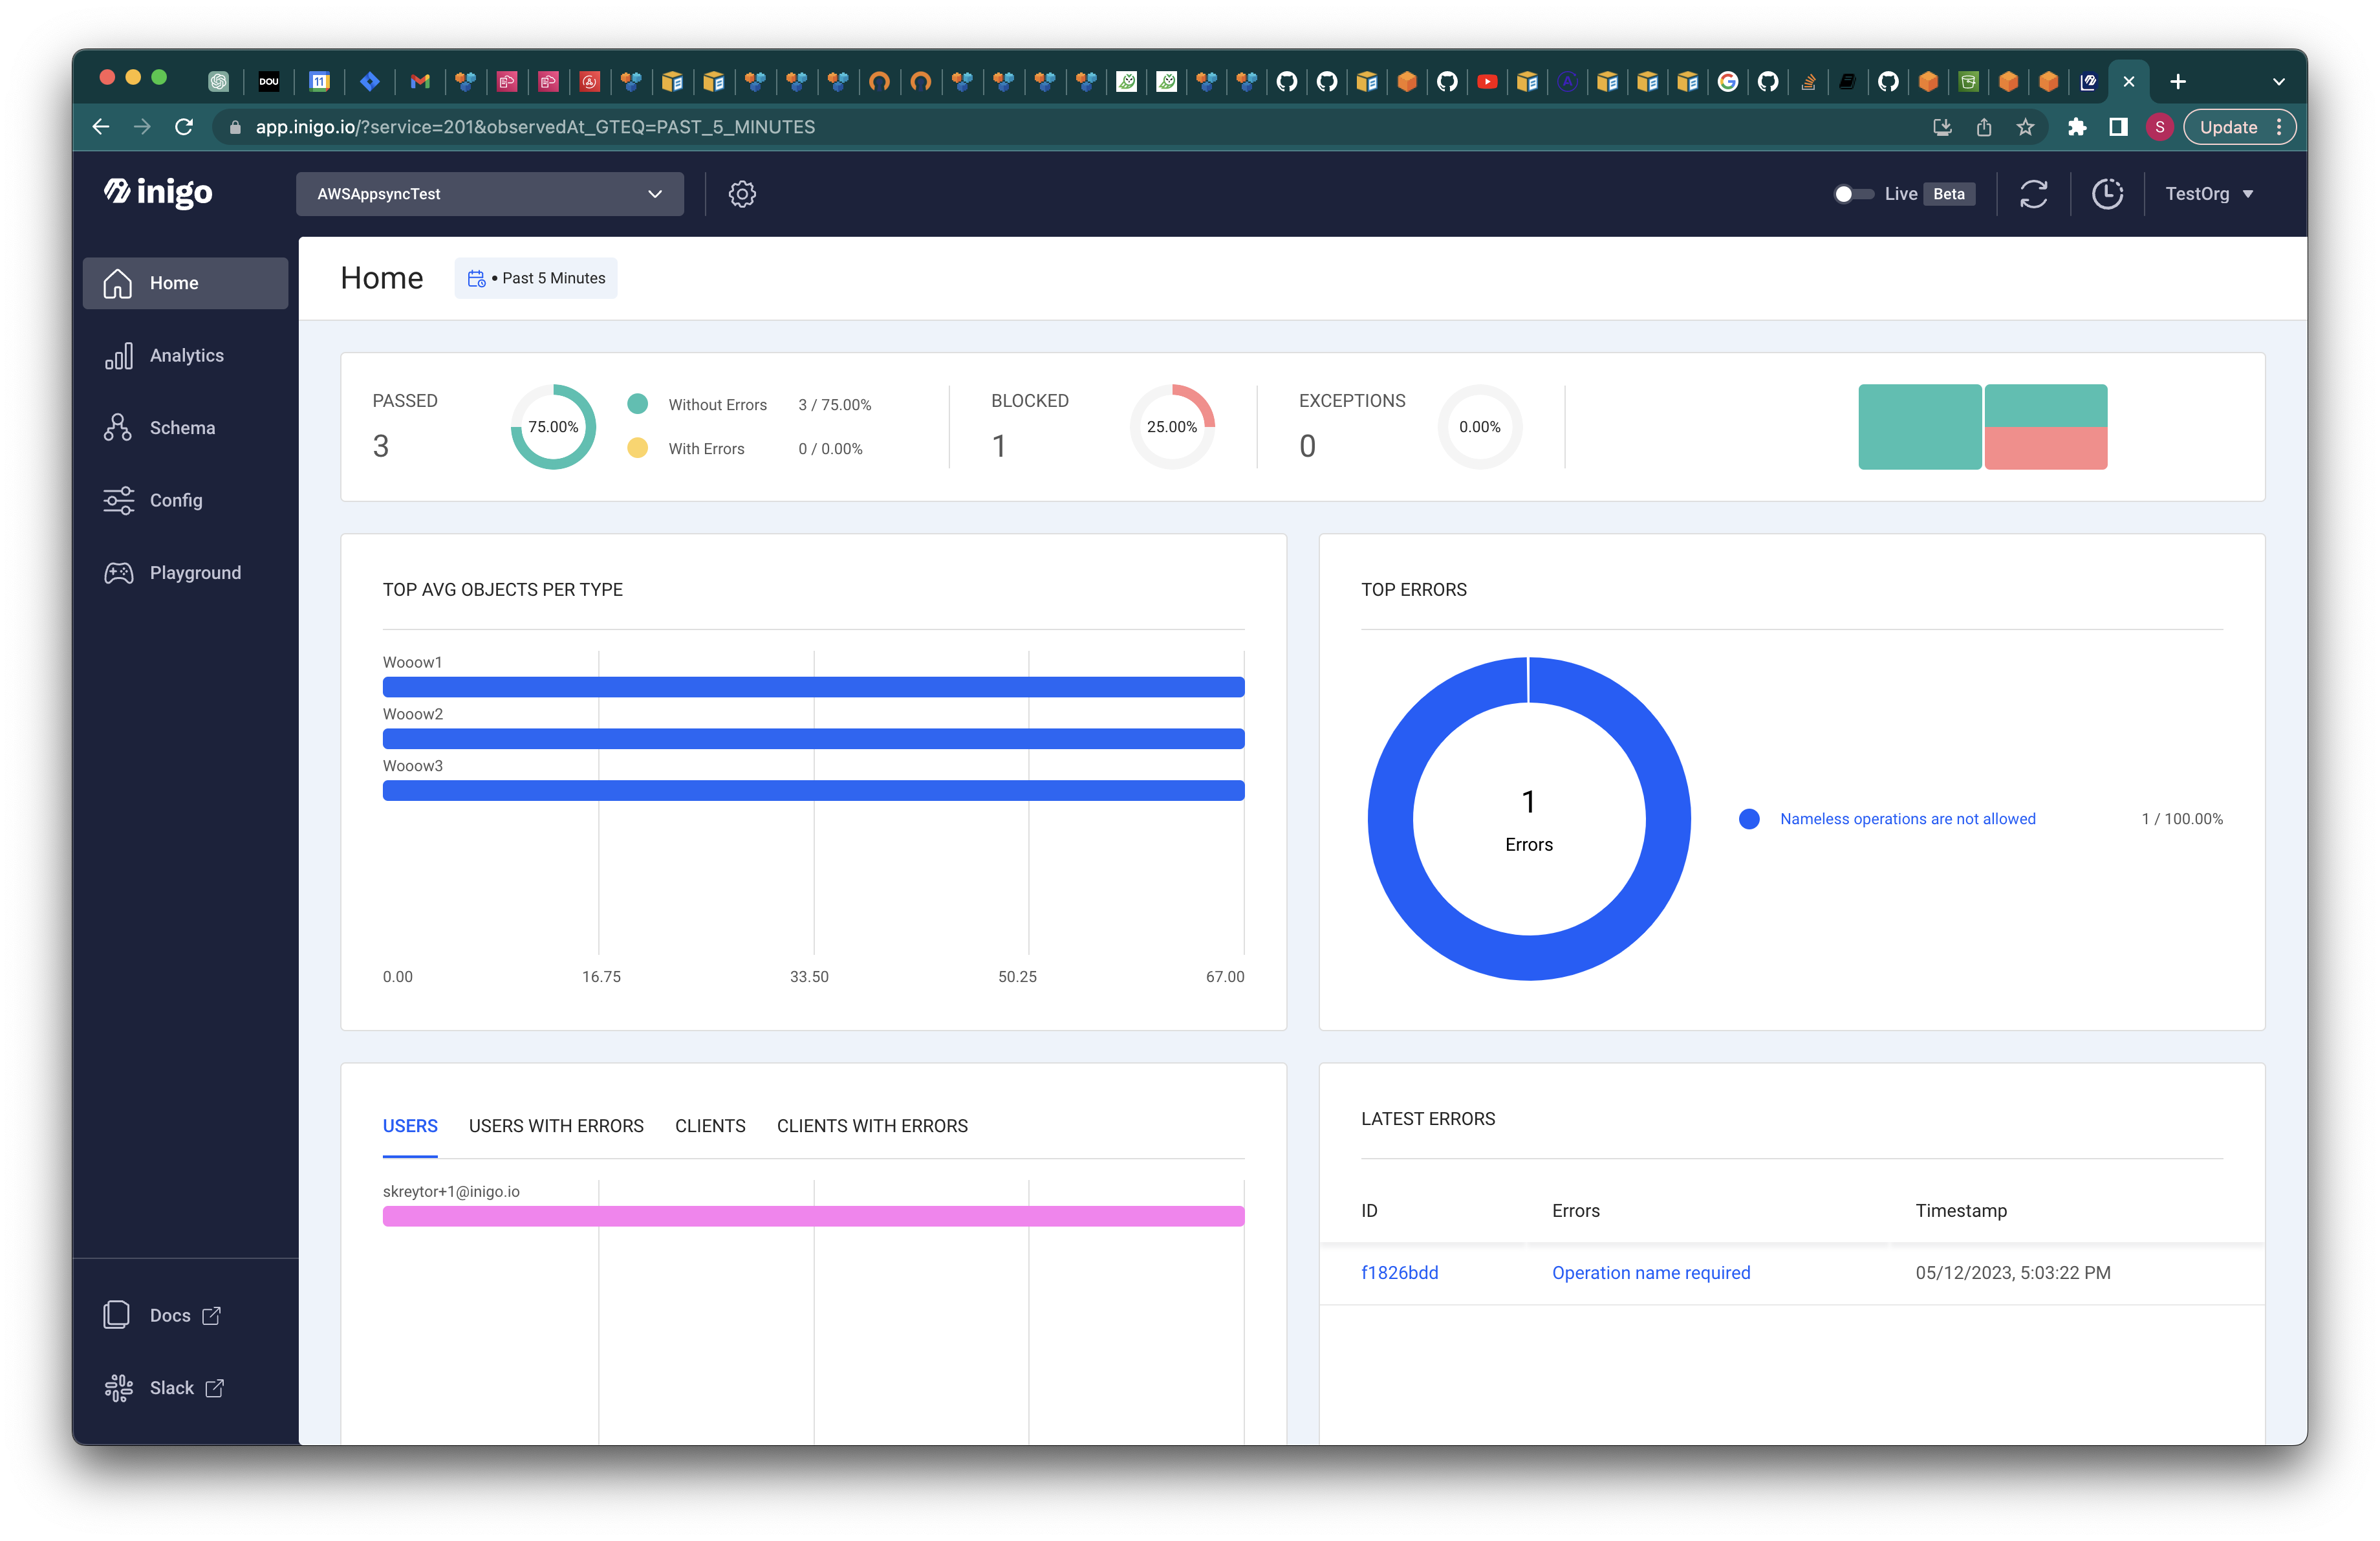
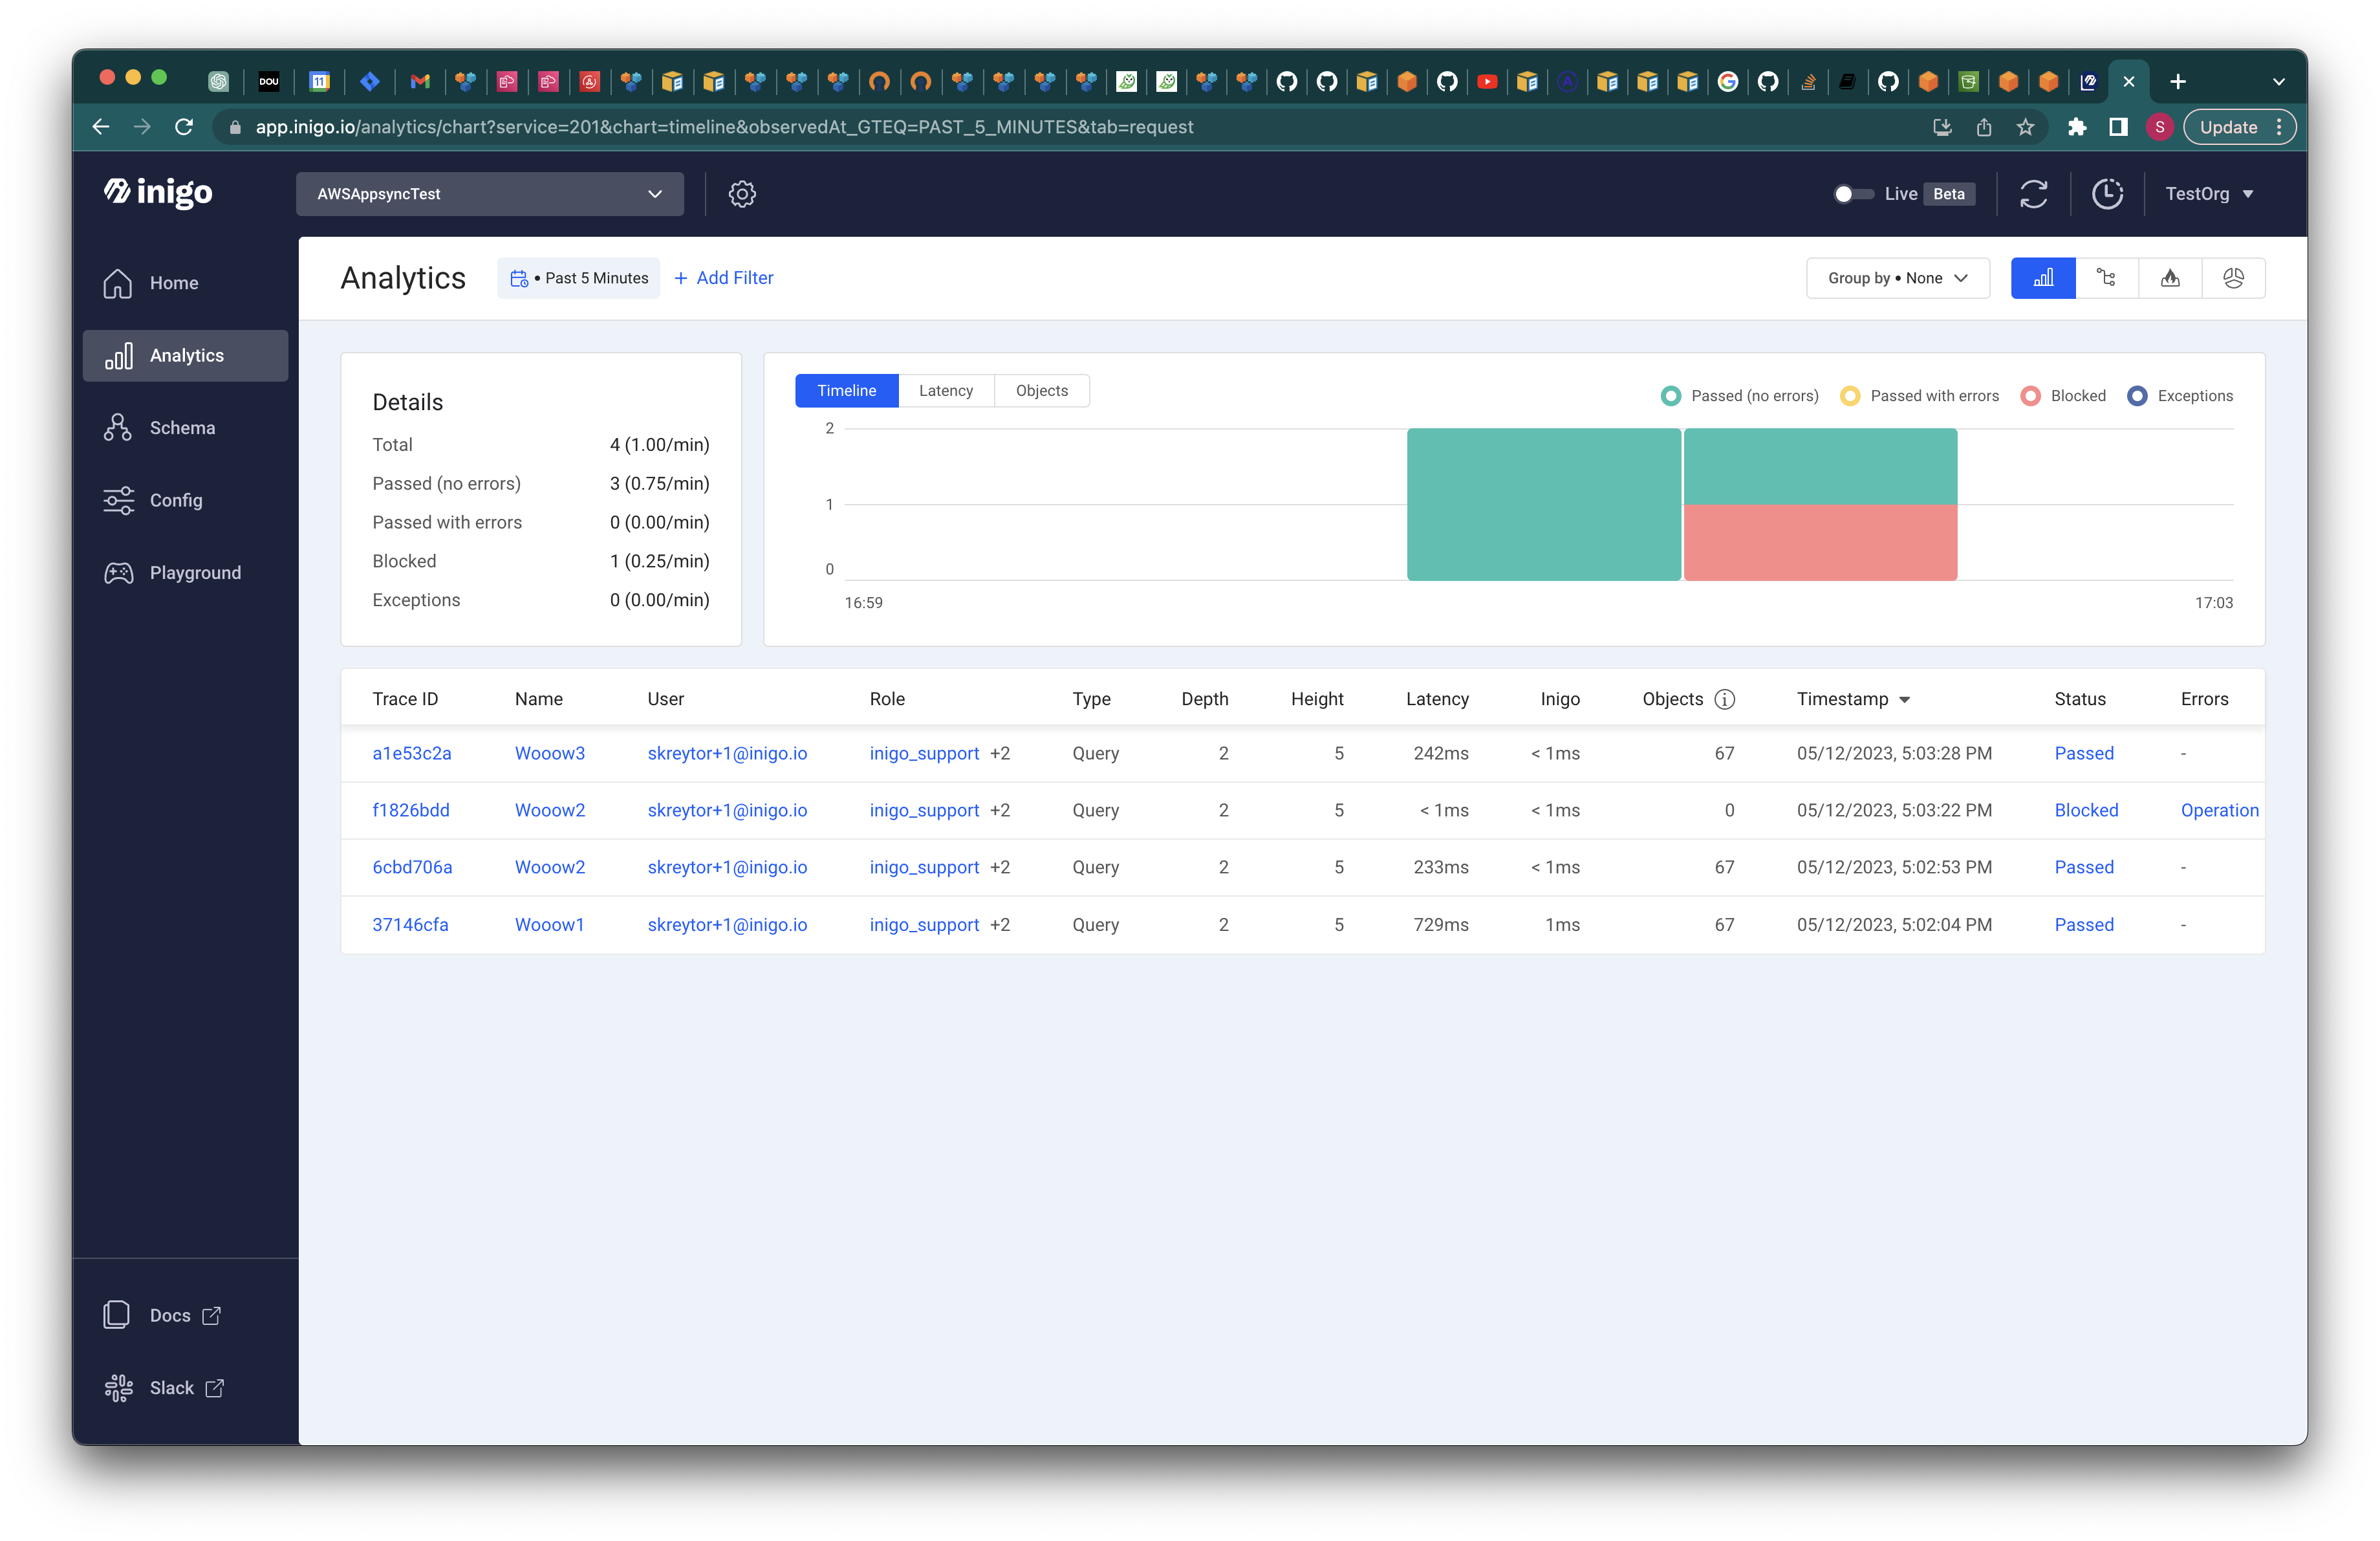
After sending a few requests, head to see your analytic data in your account at app.inigo.io
-
(Optional:) Head over to the Tutorials section to explore more advanced configuration scenarios.