Getting Started
About Inigo
Inigo provides complete visibility and control over your production GraphQL APIs. Regardless of whether you use an open-source or commercial GraphQL server, Inigo integrates seamlessly into your existing deployment.
Inigo offers the essential tools to confidently adopt and scale GraphQL. Our features include deep API analytics, schema-based role-based access control (RBAC), performance and error monitoring, dynamic rate-limiting, and the prevention of breaking schema changes. With Inigo, you gain unique and in-depth insights into GraphQL usage, from field-level details to query paths and overall server health and performance. Our powerful engine enforces policies, modifies and blocks malicious queries before they reach your GraphQL servers, and alerts you to any API issues.
Inigo Architecture
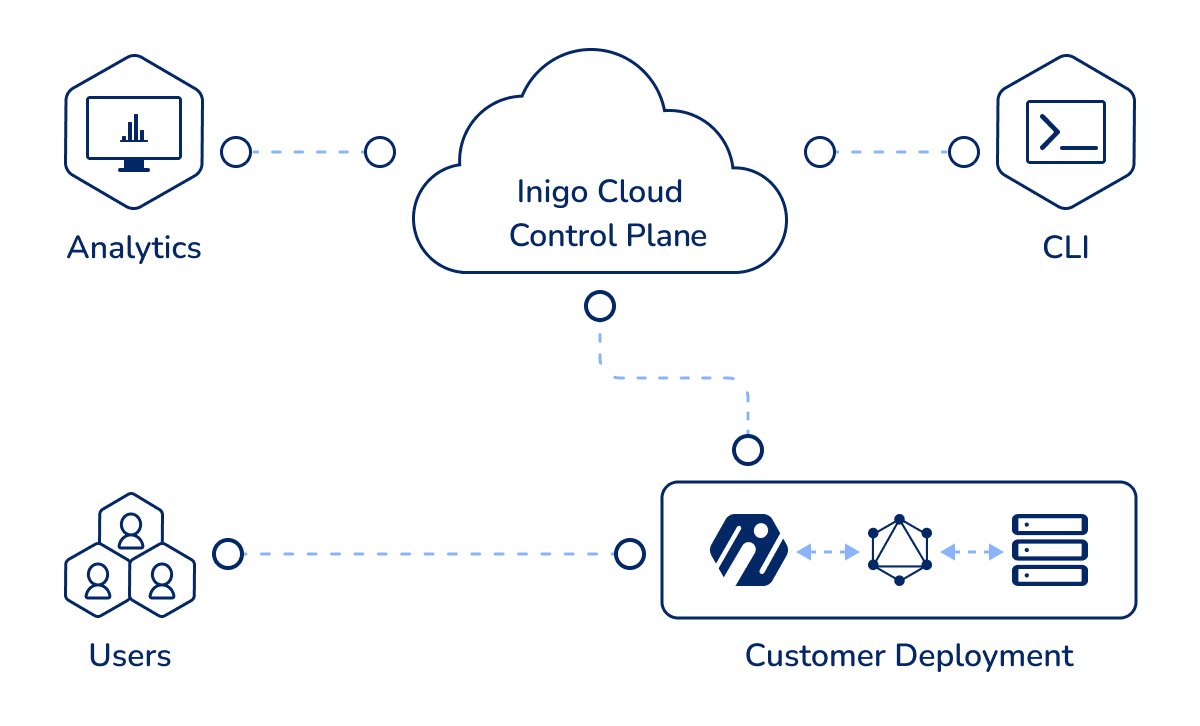
To use Inigo, simply run an agent with your GraphQL server or gateway. The agent can run as middleware, sidecar, or as a standalone proxy. Inigo supports many GraphQL servers out of the box, and integration is quick and easy. For more information on how to deploy Inigo for your specific server or gateway, see the Agent Installation section.
The Inigo Control Plane is the central point of the Inigo architecture. When you install and configure the agent, it will connect back to the control plane. Additionally, the Inigo user interface, analytics, and the Inigo CLI also connect to the control plane.
Getting Started with Inigo
To get started with Inigo for free, please follow these steps:
- Log in to app.inigo.com to automatically create a completely free account
- Set up a Project environment (the Inigo Service) for creating a connection with your GraphQL server
- Copy your Inigo token and save for later use in a
.envor shell environment variable
Here is a preview of what you can expect when you log in and complete the steps:
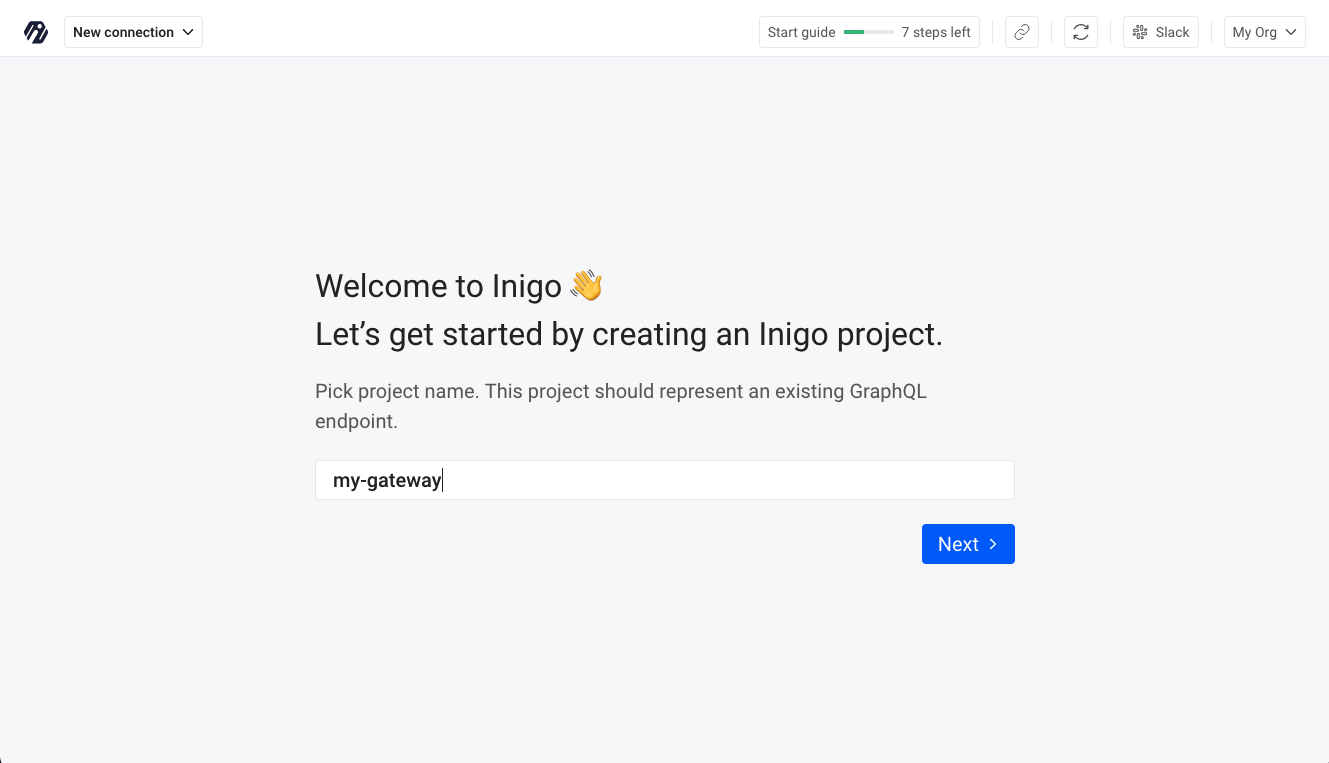
Create the project environment (Your Inigo Service).
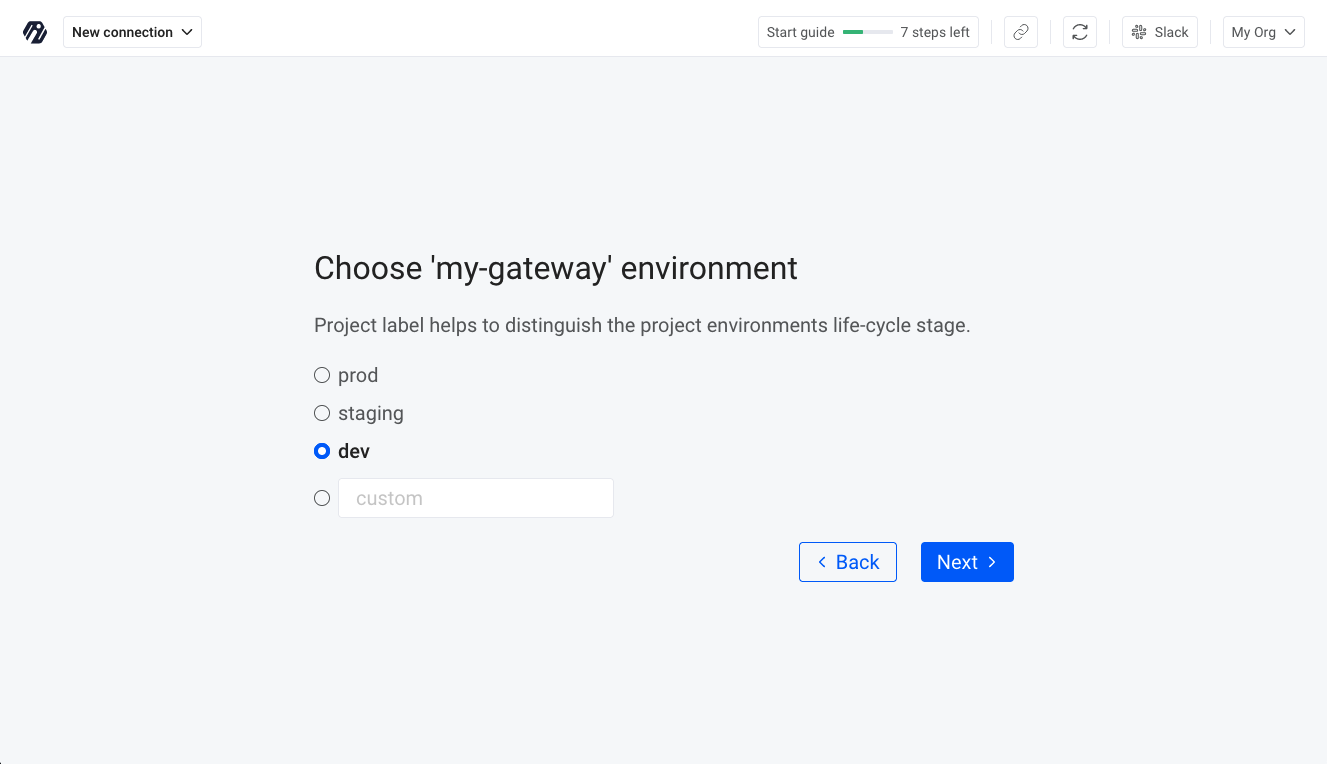
Define a label for the project environment.
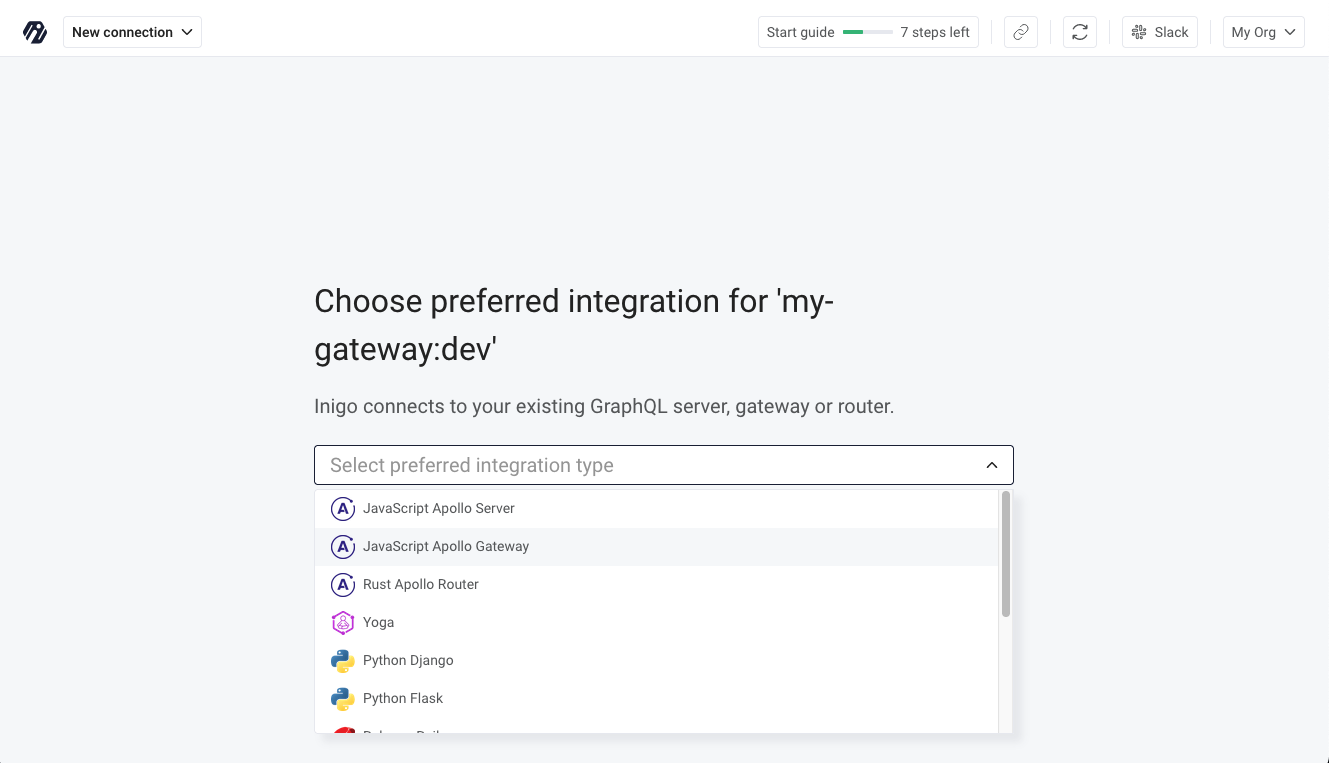
Define a define an integration.
If you have any problems, please reach out on our Slack and we'll help you out!
Next Steps with Inigo
Now that you have the Inigo Token, you must:
- Install the Inigo agent into your GraphQL server
- Configure the agent with the Inigo token
We recommend these guides as your next steps: