Inigo Apollo Gateway Setup Guide
This guide summarizes a setup process for using Apollo Gateway with Inigo, including the creation of an Inigo account, setting up the Inigo service, installing the Inigo agent into Apollo Gateway, and getting started with Inigo Observability. After completing these initial steps, you can implement the more advanced features of Inigo, such as schema composition, breaking change checks, rate limiting, and more.
Part 1. Inigo Account and Inigo Service Creation
Our Getting Started Guide contains detailed information about creating an account with Inigo and creating your first Inigo Service. For the initial setup, only the Inigo Cloud UI is needed. Here is a summary of the required steps:
| Step | Instructions | Details |
|---|---|---|
| #1 | Create an account using Google SSO, GitHub SSO, or email/password (app.inigo.io). |  |
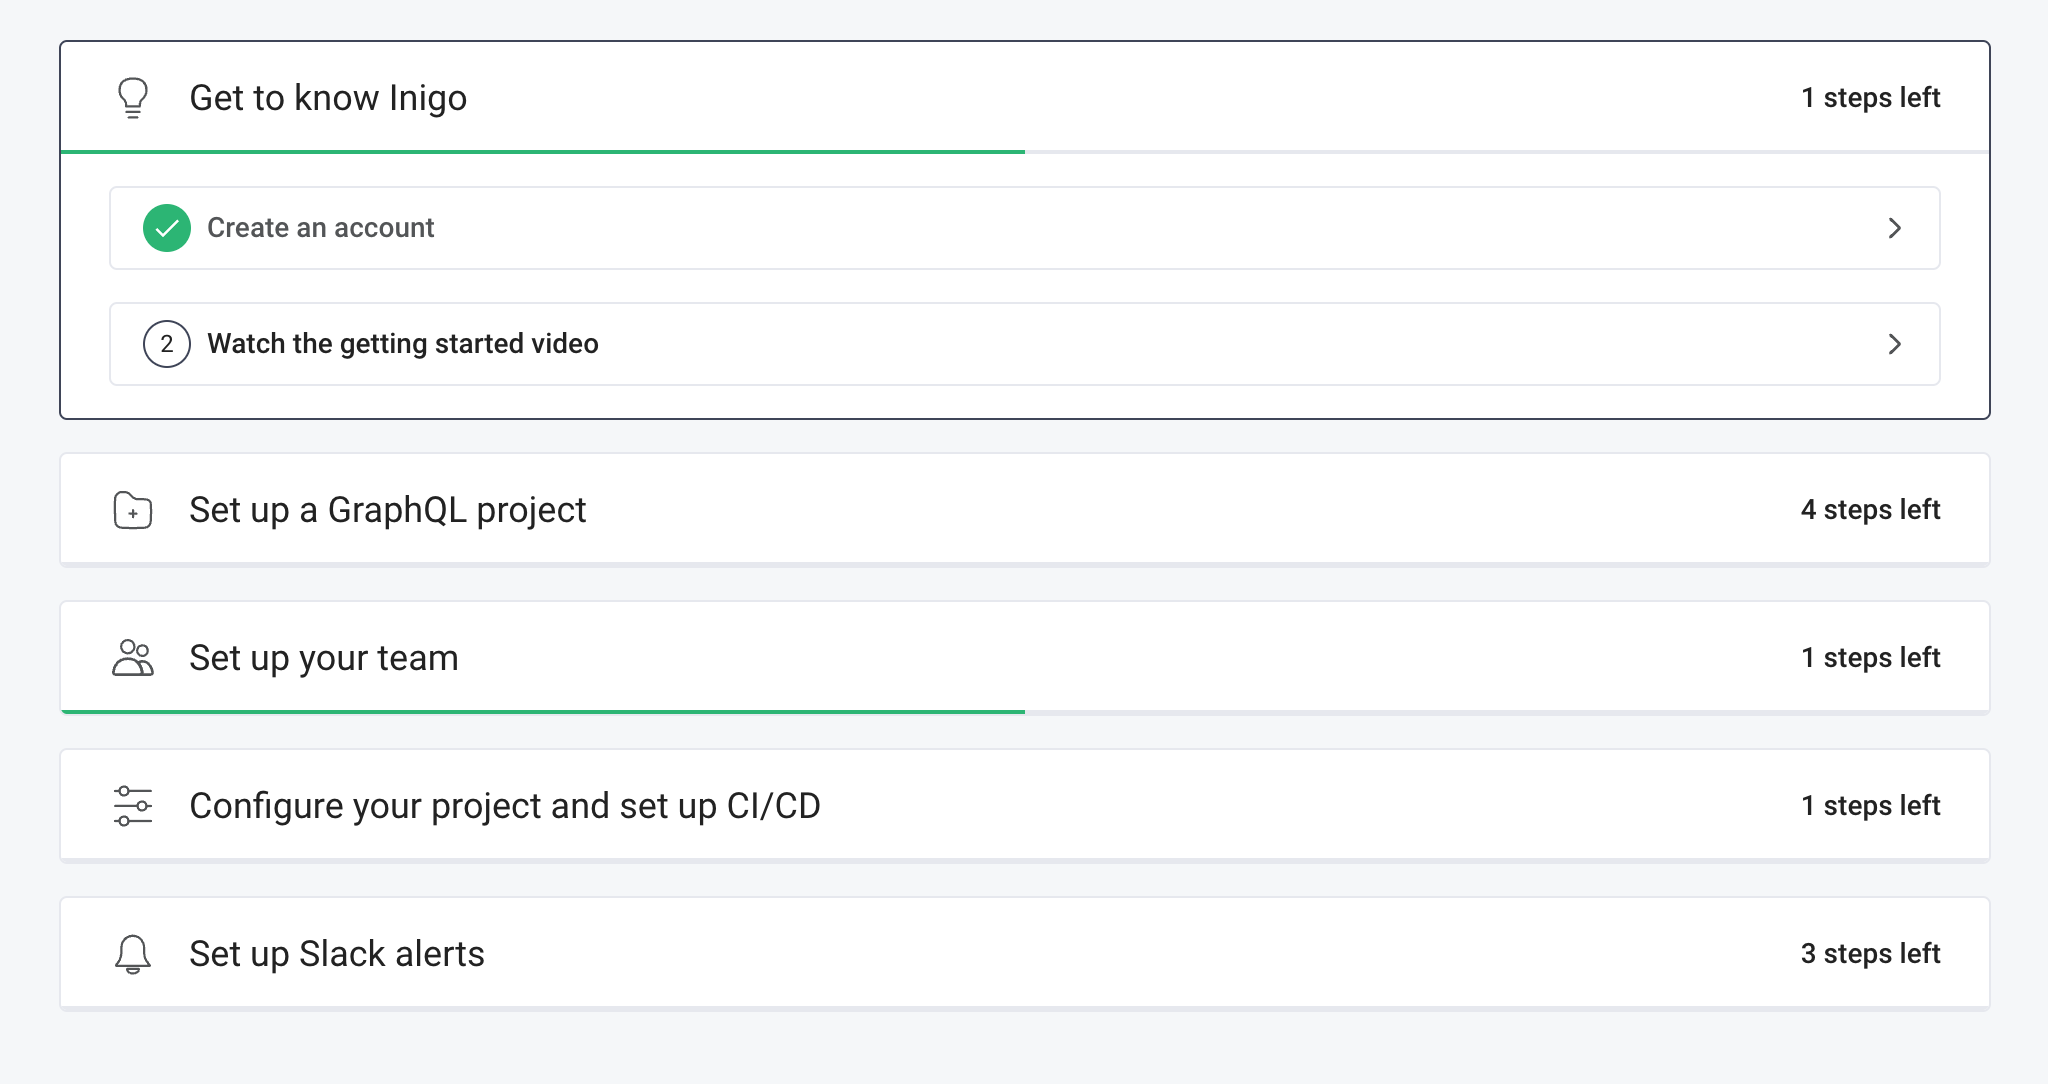
| #2 | After creating the account, you will be taken to our Getting Started guide workflow. |  |
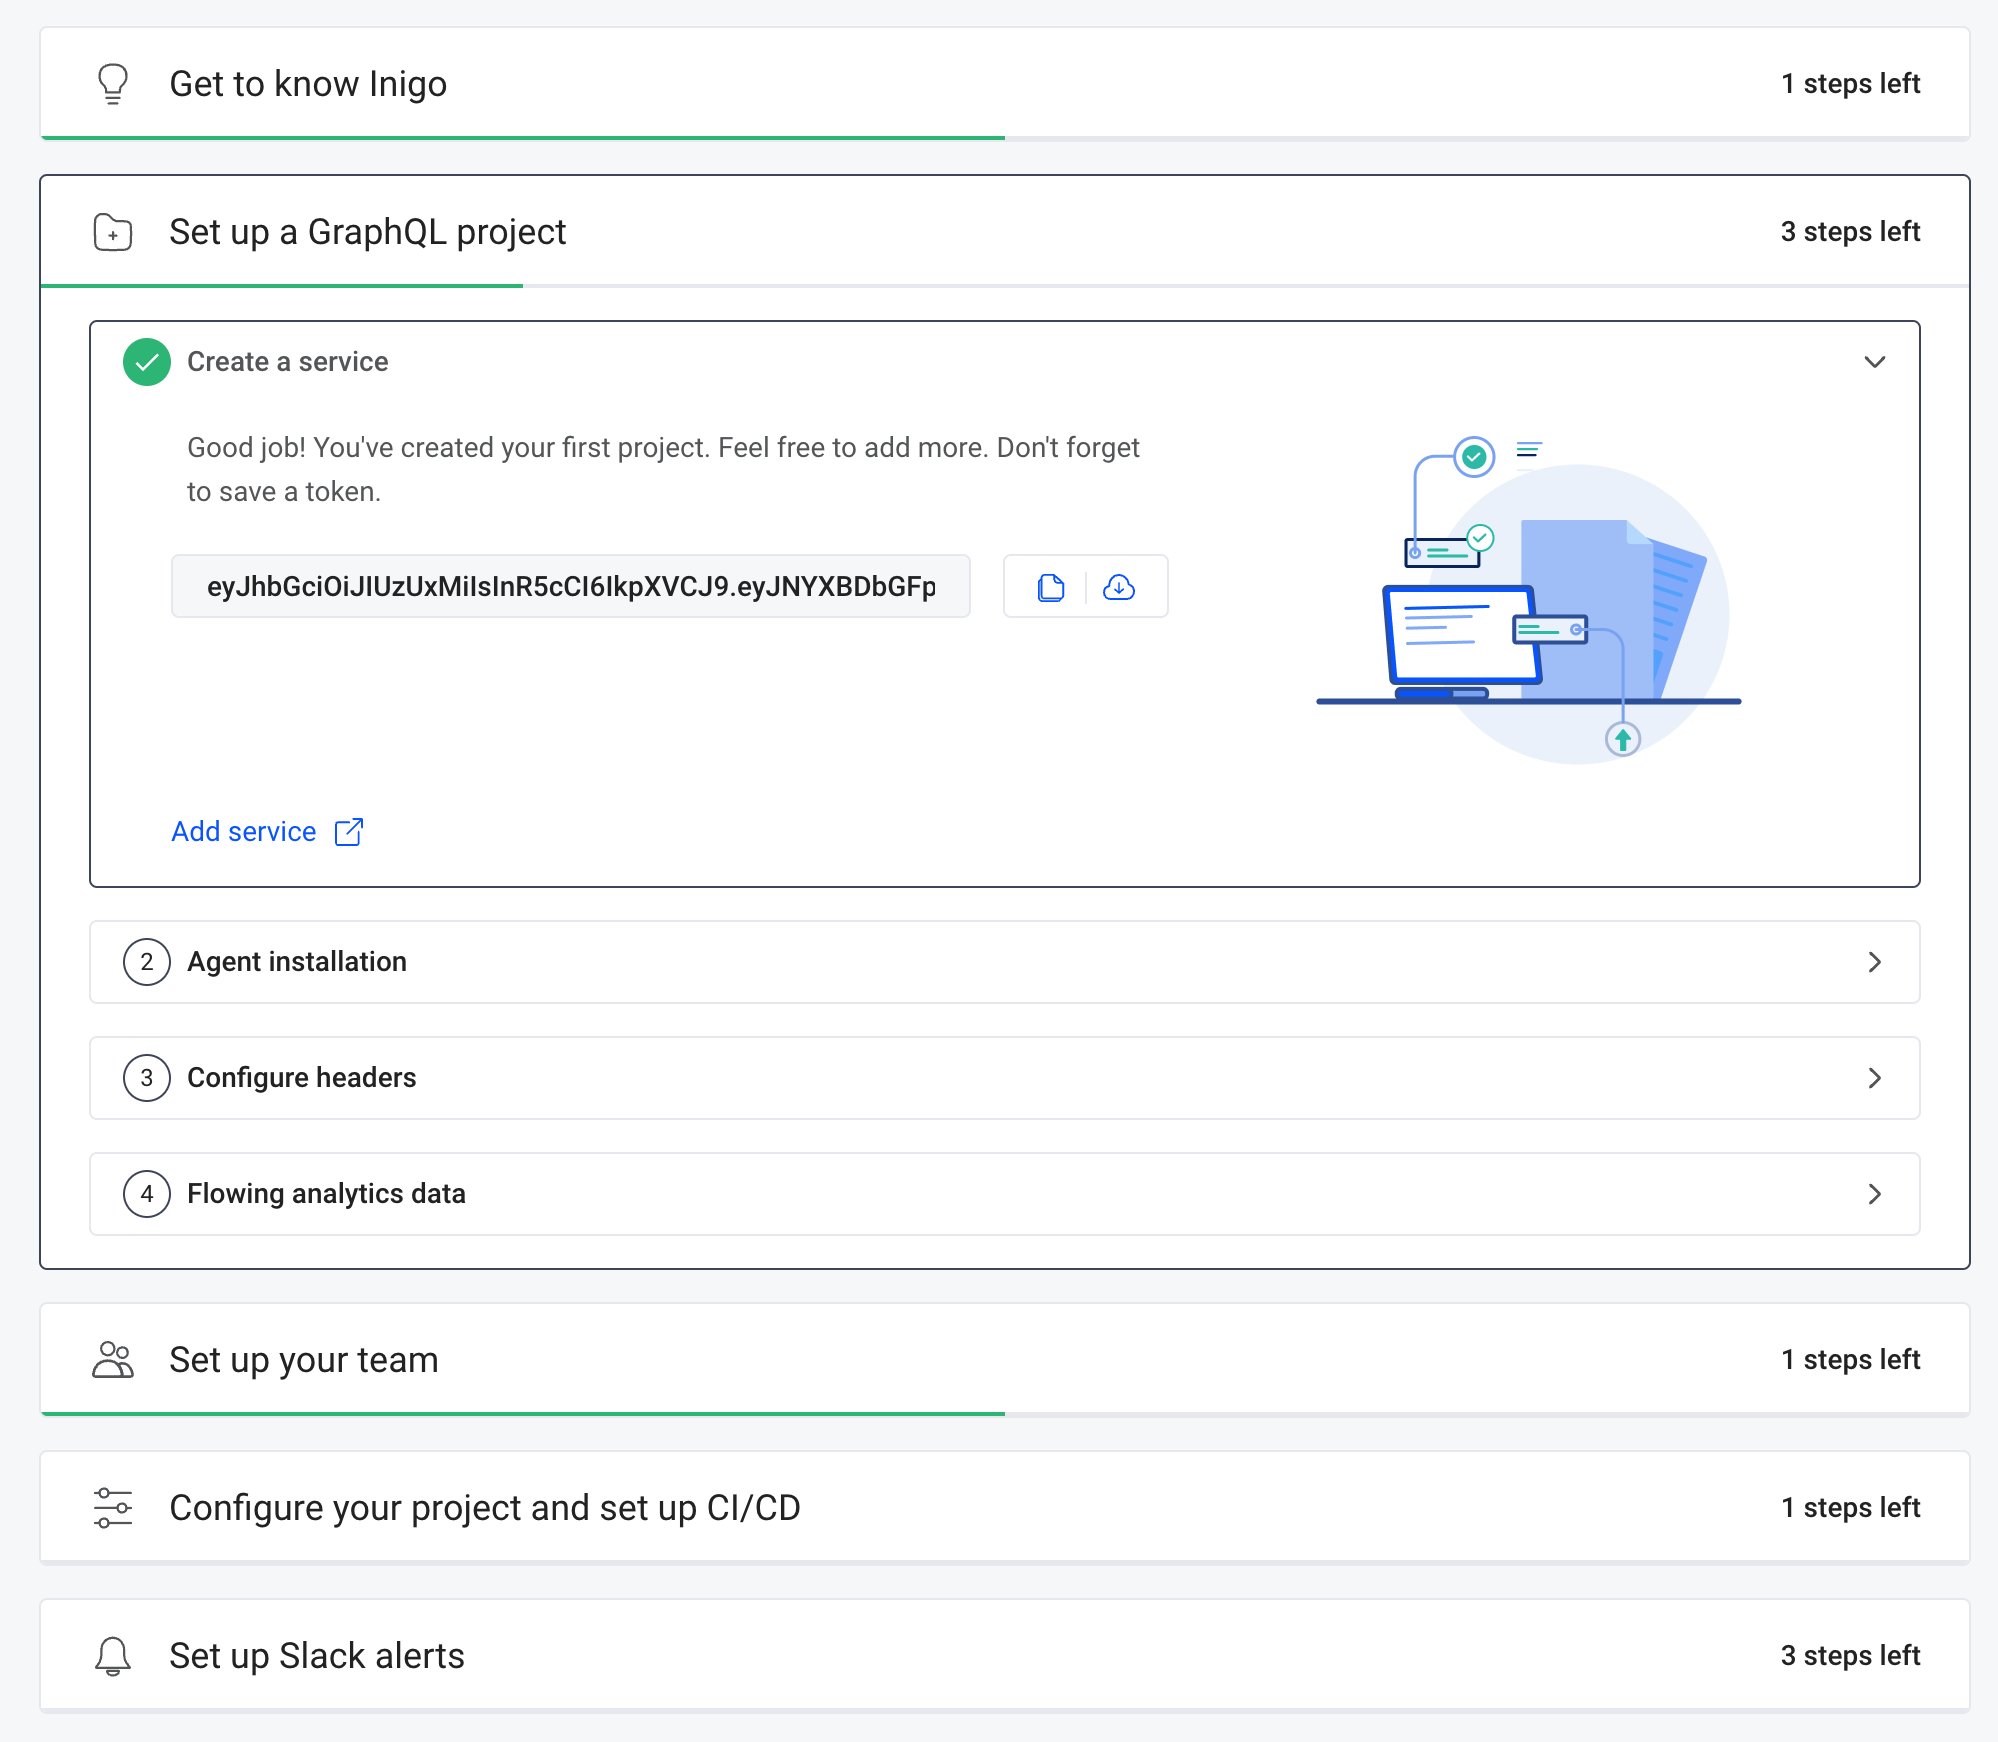
| #3 | Next, you can proceed to Create a service and enter the details for your Apollo Gateway service deployment.
|  |
| #4 | After the service is created, a token value will be created. Please copy and save this token value, as it will be used later for setting up your Apollo Gateway. |  |
Part 2. Apollo Gateway Inigo Agent Installation
The Agent installation instructions for Apollo Gateway document details the basic setup of Apollo Gateway with the Inigo agent. This will provide out-of-the-box observability for your supergraph to get started with Inigo.
| Step | Instructions | Details |
|---|---|---|
| #1 | Install inigo-js using NPM. | npm install inigo.js |
| #2 | Install your platform-specific Inigo library. Available libraries:
| npm install inigo-linux-amd64 |
| #3 | In your Apollo Gateway JavaScript code, include the InigoPlugin | import { InigoPlugin } from "inigo.js"; |
| #4 | In your Apollo Gateway JavaScript code, there will be an ApolloServer object created. Import the InigoPlugin for ApolloServer. | const server = new ApolloServer({ // ... plugins:[InigoPlugin()], // ... }); |
| #5 | Configure the Inigo Service Token. You may use a .env or set an INIGO_SERVICE_TOKEN environment variable on your terminal or script to run Apollo Gateway. | INIGO_SERVICE_TOKEN="inigo-service-token" npm start |
| #6 | The Apollo Gateway will be started, and the Inigo agent will connect back to the Inigo cloud. | Watch the logs for information related to the Inigo plugin. |
Part 3. First Observability Data (for Supergraph)
Now that your Apollo Gateway is running and the Inigo agent is installed and connected to the Inigo cloud, you can run GraphQL queries and begin to receive Observability data for those queries.
| Step | Instructions | Details |
|---|---|---|
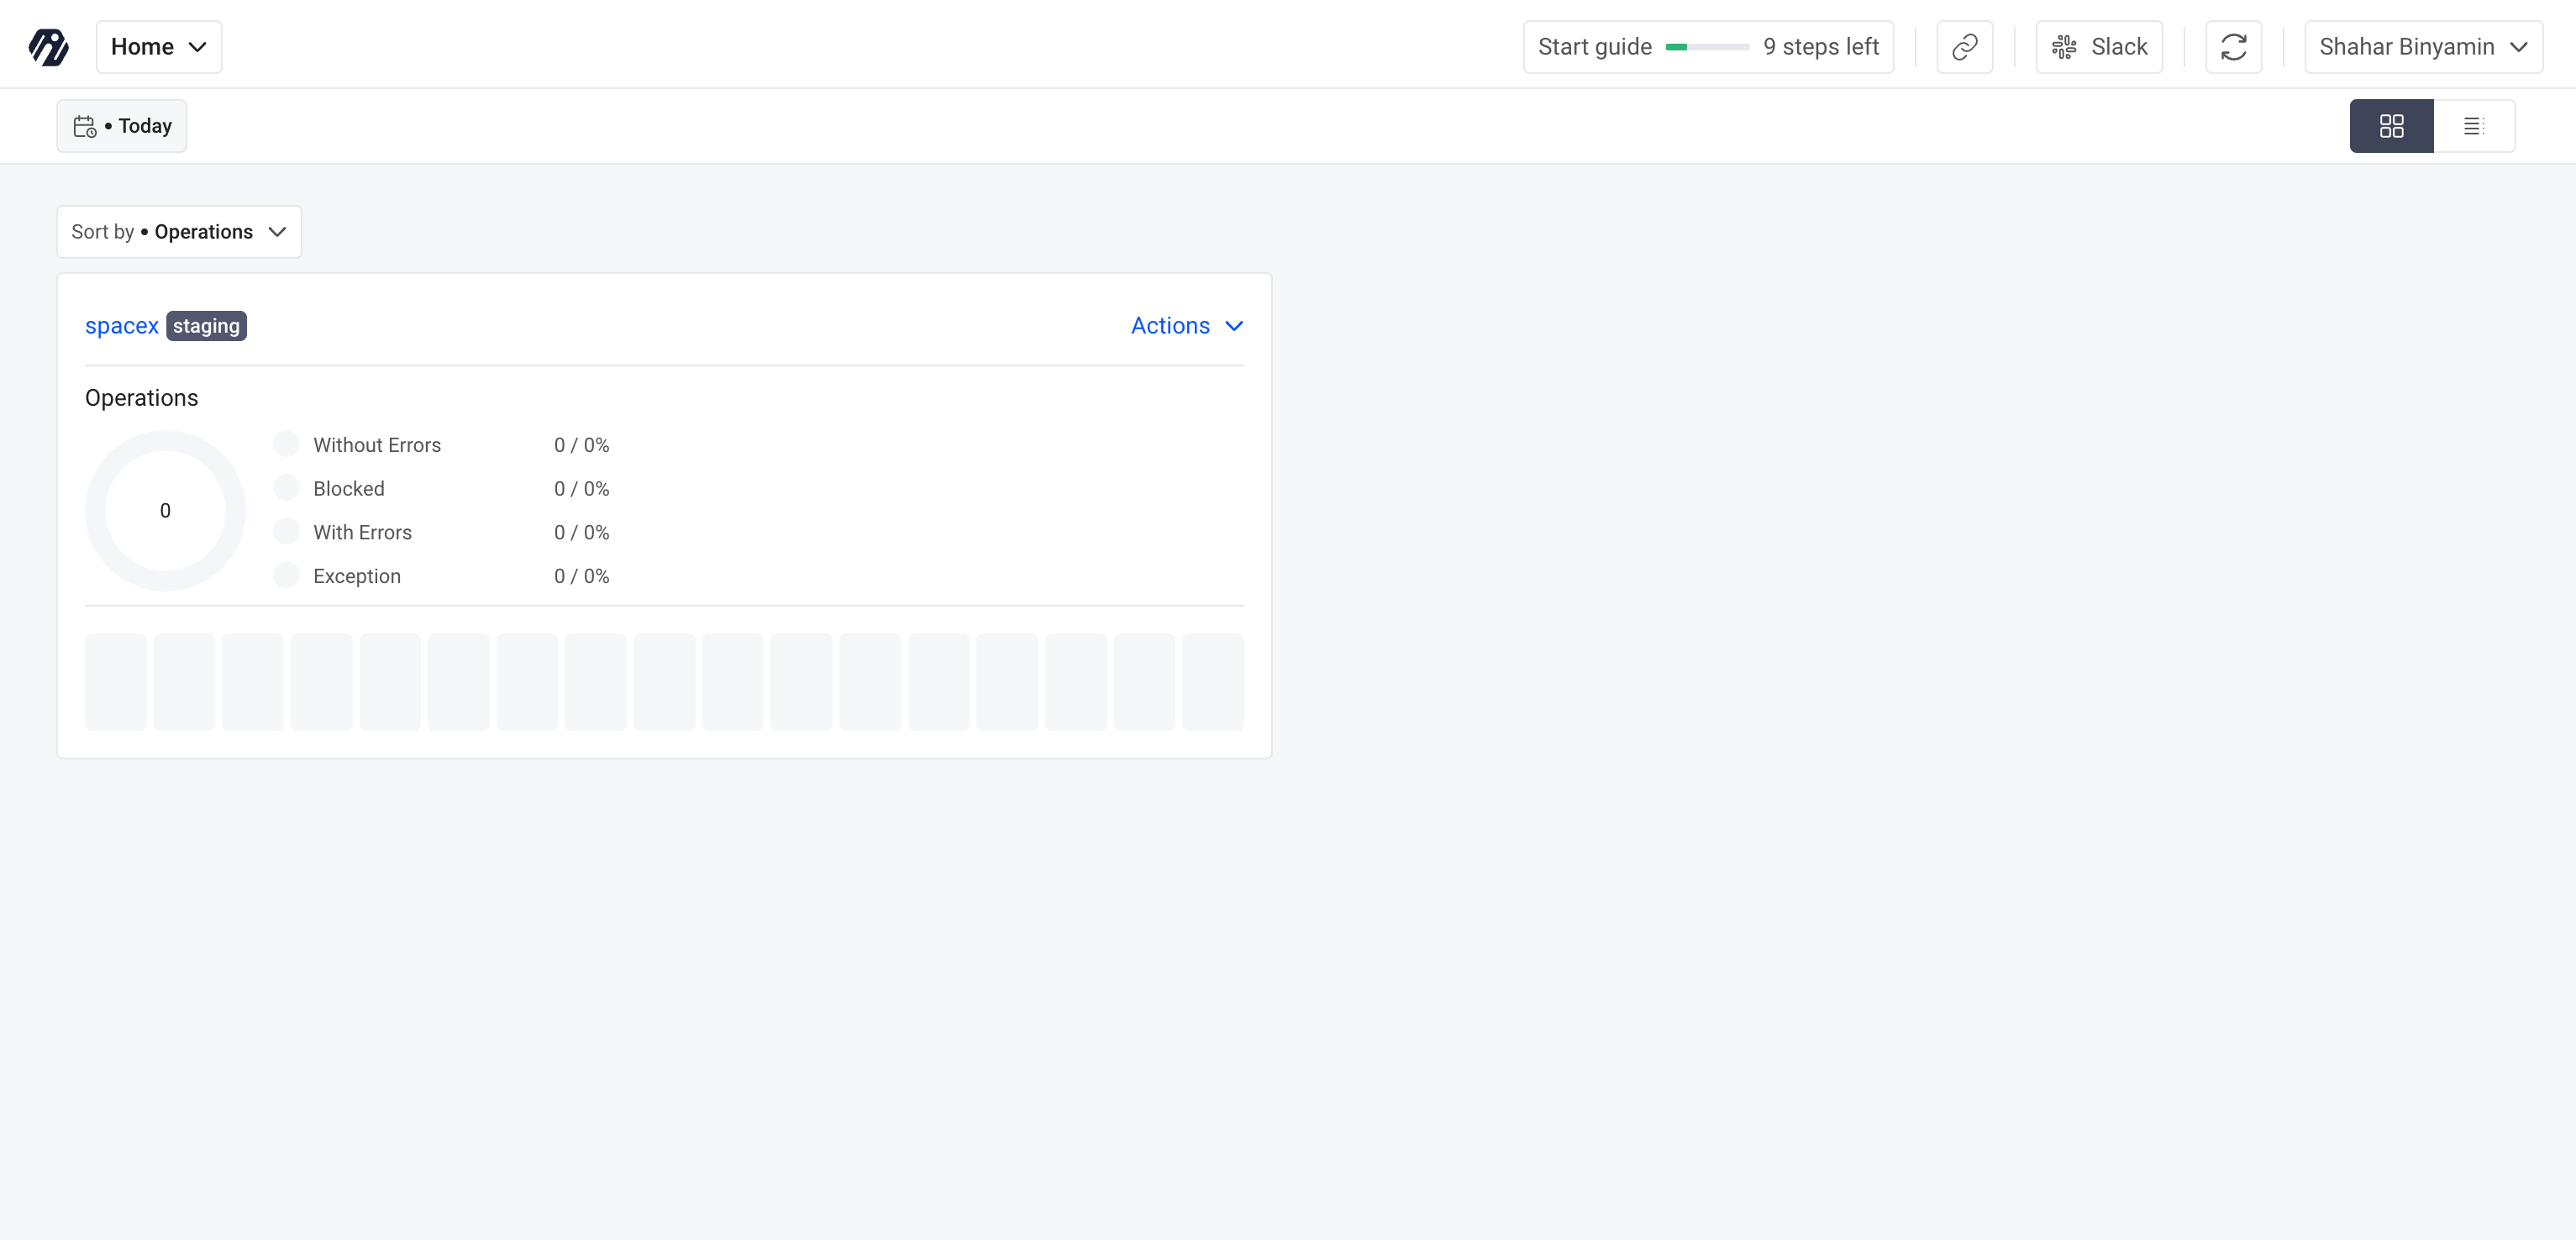
| #1 | Go to app.inigo.io and proceed to your Inigo service created in Part 1. |  |
| #2 | Execute a series of GraphQL queries to your Apollo Gateway instance. The Inigo agent will begin capturing query metrics, and they will show up momentarily. OPTIONAL: Set up Inigo Explorer (doc) as your GraphQL playground to edit and run queries. |  |
| #3 | Proceed to the Insights screen and click the Refresh button on the top right of the screen. Data might take a minute to render. |  |
| #4 | Proceed to the Observe screen to see GraphQL query data, and you can proceed to filter and group data. |  |
Part 4. Configure Inigo Service Context for JWT or Headers
Configure Users ID, Clients, IP, and Org that map to JWT claims or HTTP Headers. This will provide granularity for client-specific data
| Step | Instructions | Details |
|---|---|---|
| #1 | Install Inigo CLI | brew tap inigolabs/homebrew-tap brew install inigo_cli |
| #2 | Log in to Inigo CLI | Ex. inigo login google |
| #3 | Create Service config file (sample file) with:
| Example: - path_user_id: jwt.user_name - path_organization_id: jwt.org_id - path_client_info: "header.Inigo-Client-Version" - path_client_address: "header.CF-Connecting-IP" |
| #4 | Apply configuration using Inigo CLI command | inigo apply service.yml |
Coming soon...
- Part 5. Config subgraphs and schema checks
- Part 6. Subgraph Observability and Tracing
- Part 7: CI/CD Integration